Carving the Body
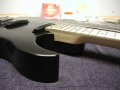
Shaping the Neck Joint
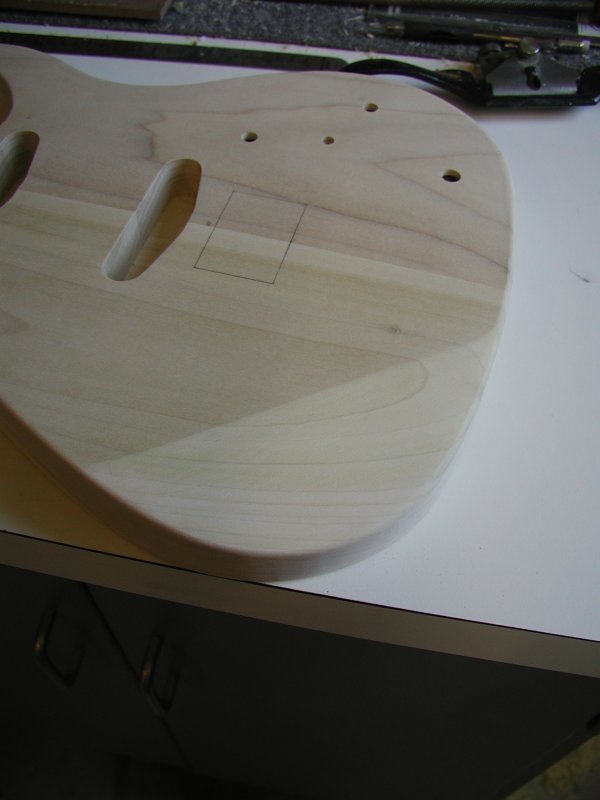
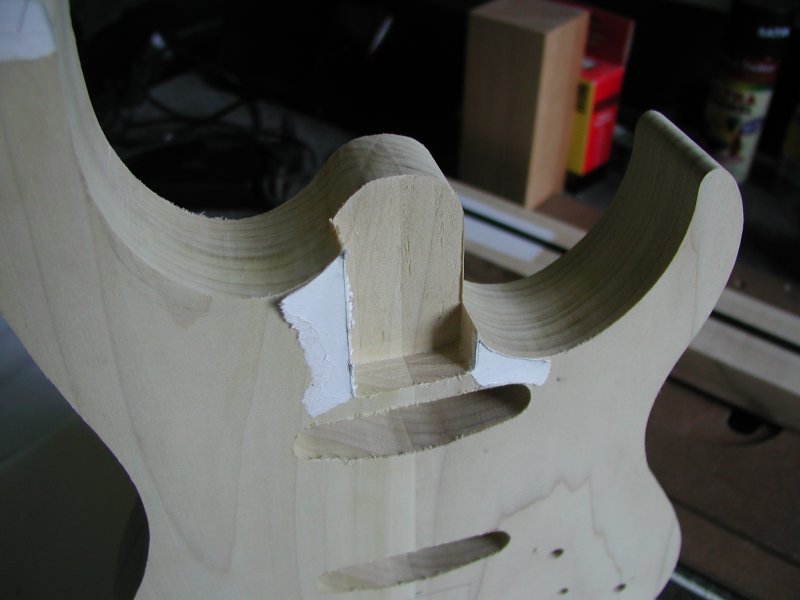 I added a small separate paper template to the neck recess and then cut and sanded it to shape. I was especially careful to make sure the edge of the neck pocket where the side of the neck will be exposed was accurate and straight.
Radiusing the Edges
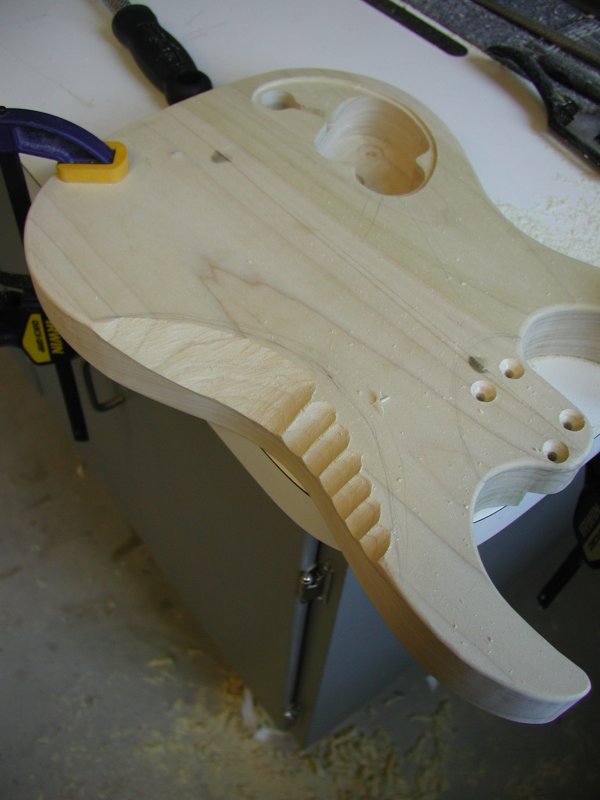
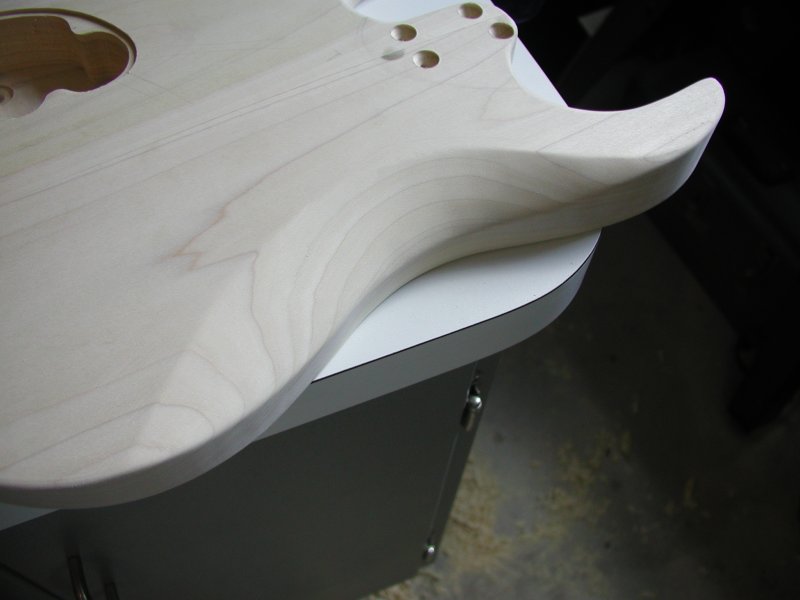
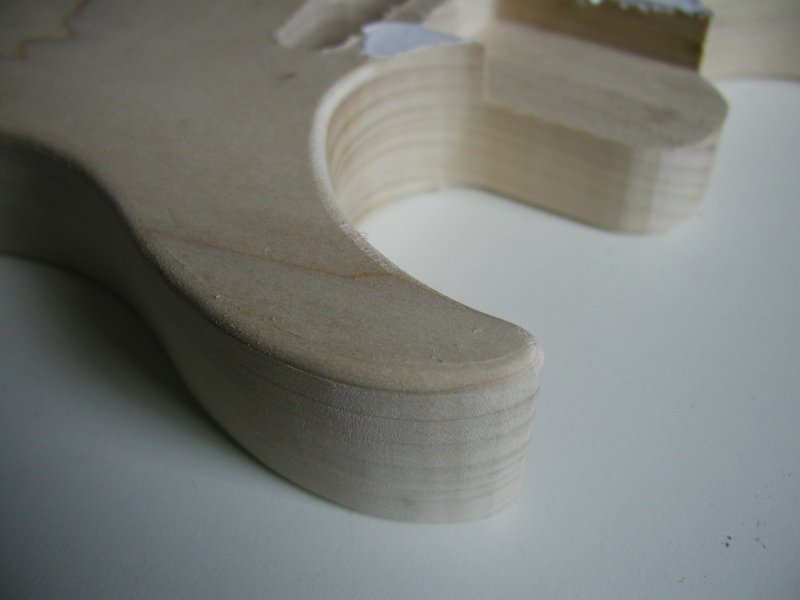 I used the router and an 1/8 inch radius bearing bit to rough in radius on all of the edges. This included where I would be cutting out for the armrest and chest relief. I would add this radius manually to the areas that are carved after they were carved to their final shape.
Armrest and Chest Relief
To carve the armrest and chest relief on the body of the instrument, I first laid roughly laid out the patterns using a mixture of templates and freehand sketching. I used a microplane rasp, spokeshave and wood rasp to do most of the actual carving. Once the body was roughly carved to shape, I tested the feel of the body in a sitting position. I changed the shape a few times until it was comfortable as well as visually appealing. I then smoothed the shaped areas with sand paper. I also added an 1/8 inch radius on the edges meeting the side. I left the edges which contact the top or back sharper than an 1/8 inch as a stylistic touch.
Drilling Between the Cavities
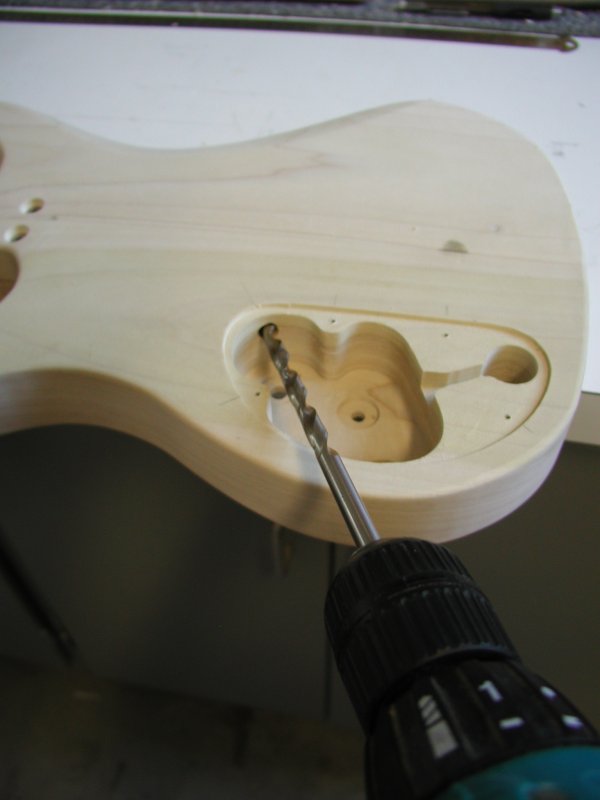 I drilled two holes from the electronics cavity to the pickups with a long 5/16 inch bit. Even with the long bit, it was still challenging to drill to the right spot on the pickup cavity from the electronics cavity wall. The easier bridge pickup I hit about where I wanted to with the hole exiting at the lower left corner of the pickup cavity. The upper pickup had a much longer way to drill making aiming the bit much harder. I exited too high on the neck pickup cavity and had to drill an extra hole to allow the wire to exit properly. The top of the hole is also visible with the pickup in place, but wouldnt be very noticeable since everything would be painted black. A smaller 3/16 inch bit would be easier to maneuver (I used this later to drill from under the bridge to the electronics cavity.) I would also suggest aiming lower than you think you should and, really, as low as you possibly can since you really cant come out too low. This is especially true for the bridge pickup which is much farther away. Starting higher in the cavity would also help make sure the bit exits lower out of the pickup cavity where it should.