The Fretboard
Template
The fret board started much thicker than necessary, so I planed them down to their final thickness while still attached together. They were planed down to about .21 inches. With the two fretboards cut apart from one another, I glued a paper template with the positions of the fret slots down to the back of one of the fretboards. The template was taped to the back of fretboard so the lines where the frets would go could be lined up with the marker on the cross-cut sled while the saw cuts the slot on the top of the fretboard (which is facing down.)
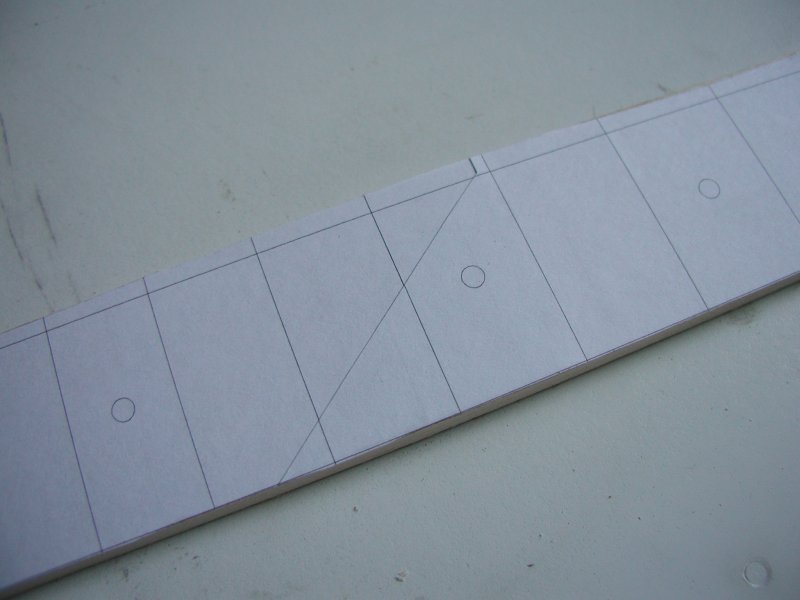 The paper template had to be made of two pieces of paper. To make sure the fret slots would still be accurate despite a joint, the two halves where printed so they would overlap. I then fitted the two halves of the template using a diagonal cut across the frets so I could accurately line up the template in all directions using only the lines on the template. This method saves you from having to measure the distance between the frets that the joint falls between, hopefully resulting in a more accurate template.
Cutting the Slots
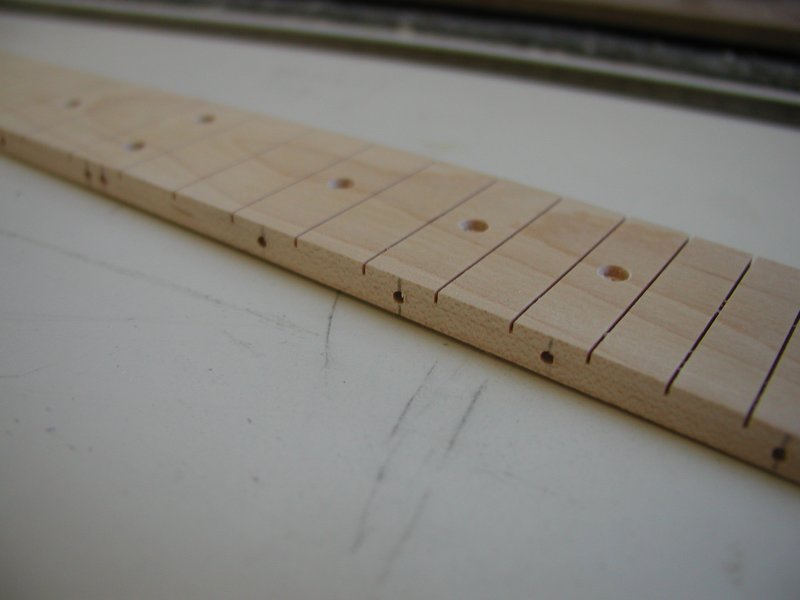
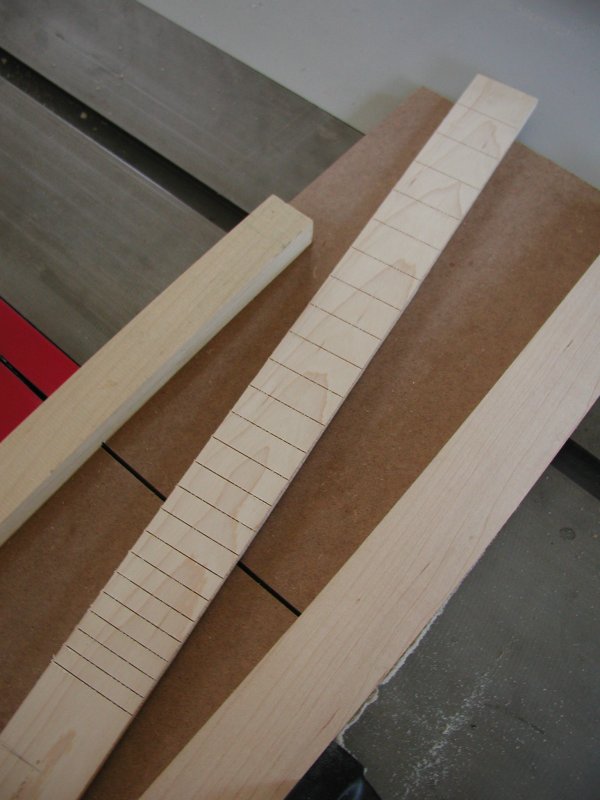 The slots were all cut just deep enough to house the tang of the frets which was just over 1/16th inch tall. Cutting all of the 24 fret slots took about 10 minutes and was surprisingly easy. I was planning on using an index pin system and an aluminum template, but lining up a paper template was fast and accurate enough for a custom and (so far) one-off instrument. Unless youre planning on making 20 fretboards with the same scale length, aligning them fret by fret is not very time consuming and plenty accurate.
Top Profile
 I added a new template to the top of the fretboard to use while cutting the top profile. With the bandsaw, I cut out the fretboard then sanded it smooth and to its final dimension.
Position Markers
For a long time I wasnt sure what I would use for the position marker inlays. They had to be easy to make since I didnt want to have to cut out all of those small dots by hand. They also needed to be the right size and color; relatively small and black. (The black inlay dots at Stewmac were too large for the size of the instrument in my opinion.) At one point, I was thinking about using a piece of black plastic rod that could be cut into discs. I couldnt find the right size though. I also was thinking briefly about using stainless steel, copper or silver for a different look. I ended up using a mixture of clear epoxy and powdered aniline dyes which I mixed together and used to filled the entire hole without adding any solid inlayed material.
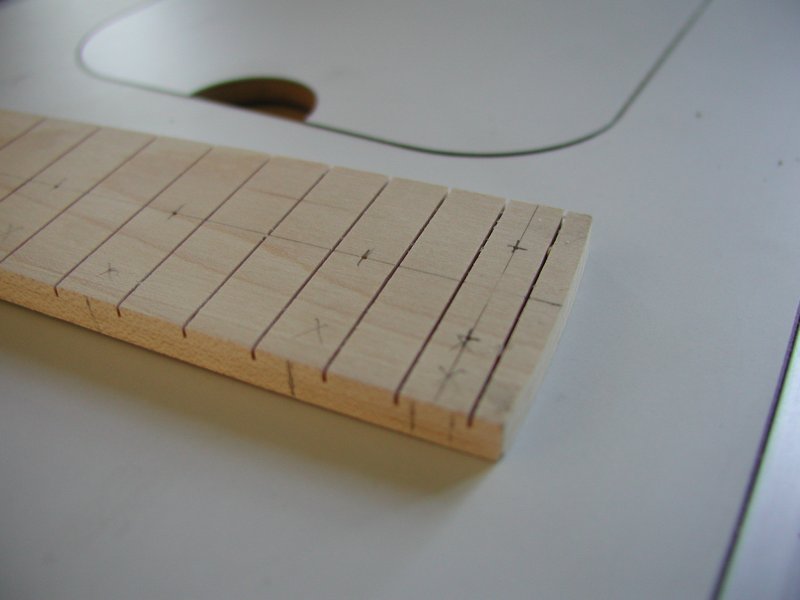
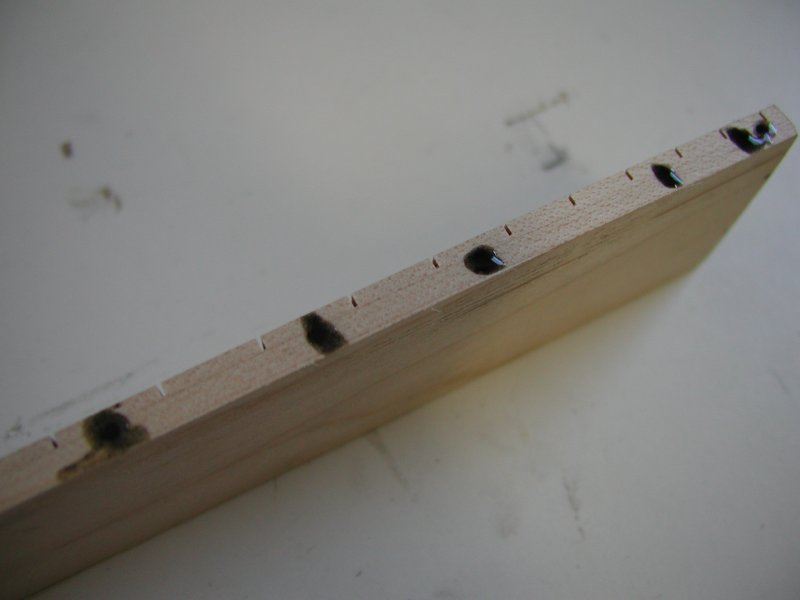
Layout and Drilling


Epoxy
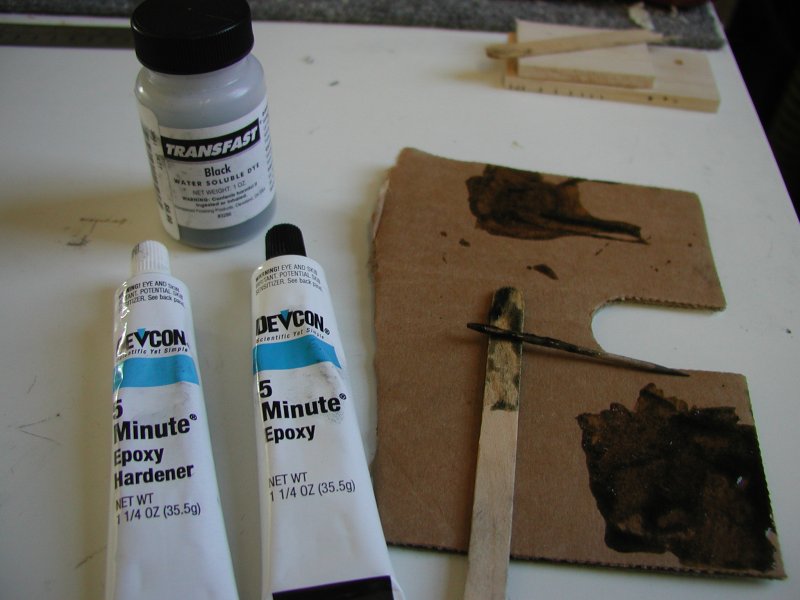 The inlayed mixture of a clear, 5 minute epoxy and black aniline dye worked very well for this purpose. But, if I make the dots this way again, I would use a longer cure time epoxy. While the 5 minute let me move fast and sand the inlayed dots flush after only about 15 minutes, I could only do a few dots a time since the epoxy set up so fast. This left me mixing up epoxy at least six separate times instead of mixing up one large amount. The aniline dye also worked well, but I had to be careful not to dye the surrounding wood as sweat from my hands could pick up the dye, dissolve it and let it soak into and discolor the wood. A non-soluble material such as finely powdered black wood fibers or a finely powdered plastic would be better for coloring the epoxy. Furniture powders are made for this task and so they shouldnt have some of the problems that aniline dyes do. Stewmac also sells premixed black epoxy that wont even is meant for filling around inlays in dark woods. A solid inlay dot of wood or plastic would still be the best option if you can find a suitable material.
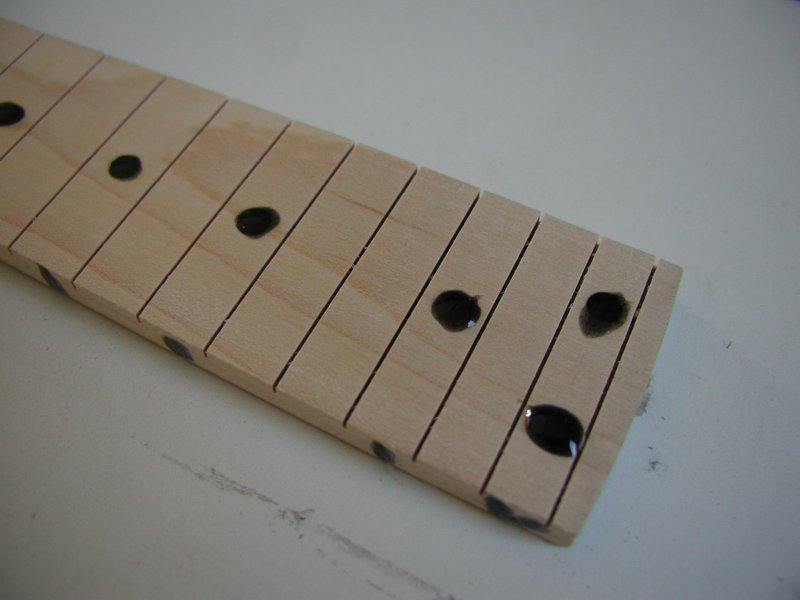
Post-Epoxy
 After sanding off the excess inlay material, I sealed the fretboard with deft lacquer to prevent the aniline dye from smudging. Sealing the fretboard would also helped protect it against metal dust later on while doing the fretwork. I ended up not adding any more finish to the top of the fretboard while finishing the neck even though I have heard of people applying lacquer to the fretboard after the frets are installed. I only put 2 coats on the fretboard, but I probably would have applied at least four coats if I had known that I wasnt going to apply more coats later.