Fretting
Alignment Pins
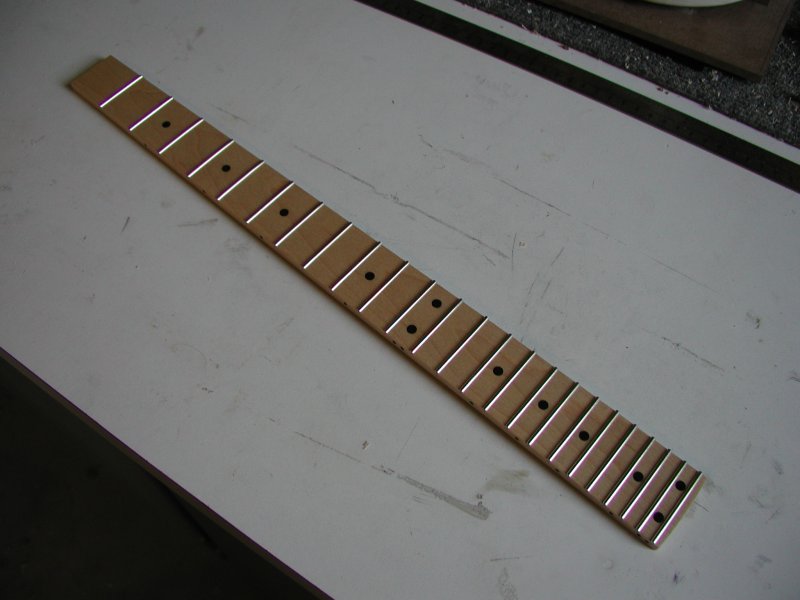
 Just before fretting, I aligned the fretboard with the neck, clamped it in place and drilled holes to accept small alignment pins for easier installation later. These holes will be covered by frets when they are installed. They will make it easier to align the fretboard and neck when gluing on the fretboard.
Fretting Method
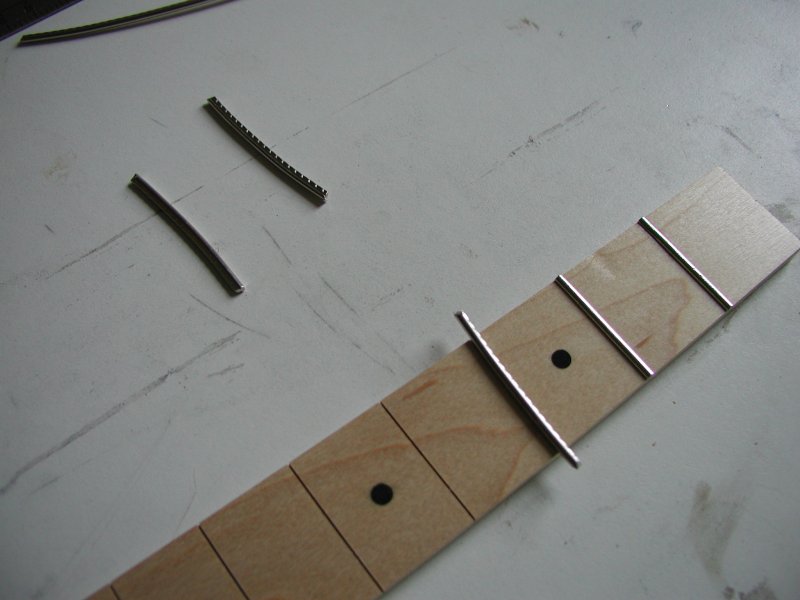 I changed my fretting method again from last time when I made my second mandolin. This time I used an impromptu fret press made with a c clamp held in a vise. An mdf base and a caul on top of the fret help prevent marring. I used a rather thin maple caul for pressing the top of the fret. A thicker caul would allow for more even pressure across the entire fret. I started the fretting process by cutting the frets oversize for their respective slots.
Fret Pressing
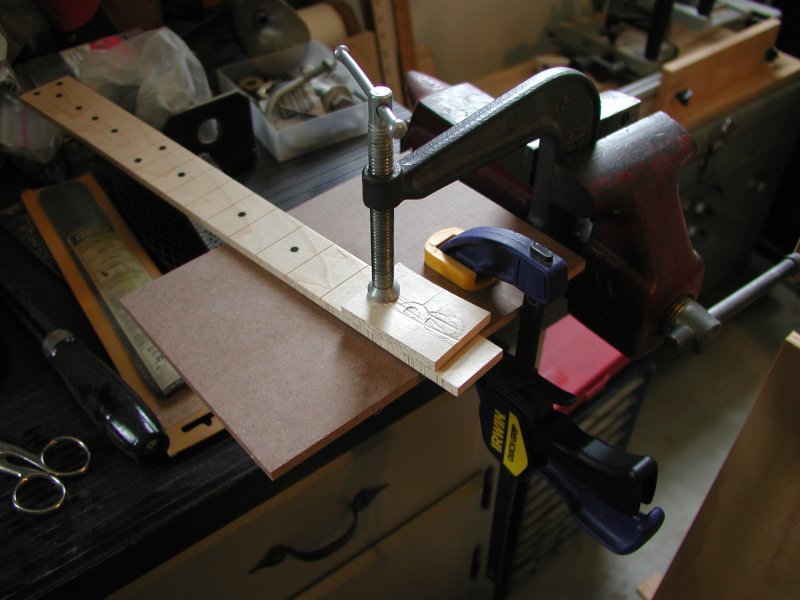 I pressed one side of the fret into the edge of the slot by hand so the tang barbs catch. From there I slowly worked across the fret with the clamp using about three strokes per fret until the entire fret was seated. I pressed down with only enough pressure to just gently seat the fret while continually checking that the fret hadnt rolled onto its side or moved out of the slot. To make sure the fret was seated, I would also press at the center of the fret with full pressure to ensure that it would be well seated. Too much pressure can press the fretwire into the top of the fretboard, especially at the edges, so some restraint is a necessary with the use of the clamp.
Cutting the Excess Wire
 I cut off the excess fretwire as I went leaving the wire just even with the edge of the fretboard. I used the ground down diagonal cutters I described in the tools section.