Installing Hardware and Setup
Strap Buttons
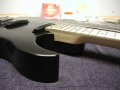
 I installed the traditional style strap buttons with the included screws after pre-drilling the holes. At this point, I had to test out the feel with a strap. After messing around with the strap and EOM for a few minutes, air guitar style, I decided that the balance was solid and got back to work so I could actually play the thing eventually.
Nut
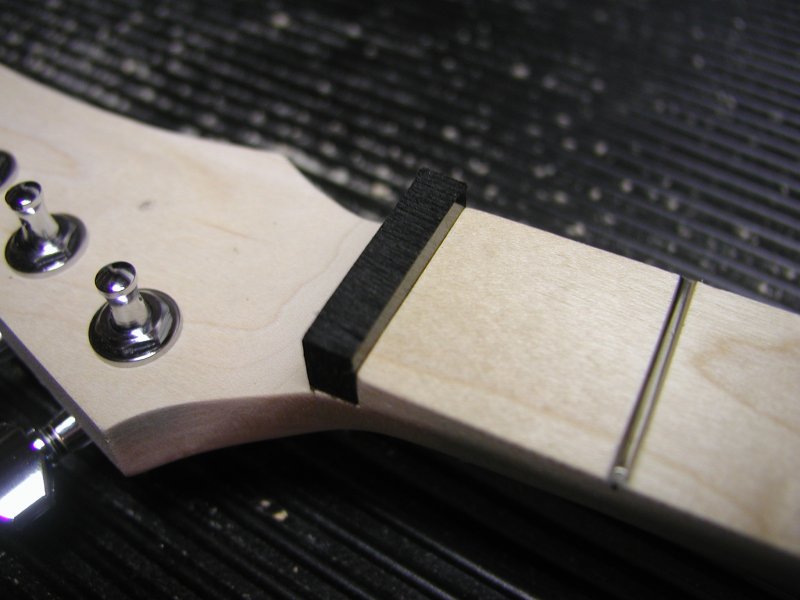 The final nut used on this instrument was made from 1/4 inch thick delrin, a type of acetal which is a hard wearing plastic that self lubricates. It is used as a nut material on guitars due to its slippery properties which prevent strings from binding, instead allowing them to come back to pitch after doing a string bend. You could also use a more traditional nut material such as ebony, rosewood, most any other oily, exotic hardwood, bone, or one of the other synthetic materials available.
Tuners and the String Tree
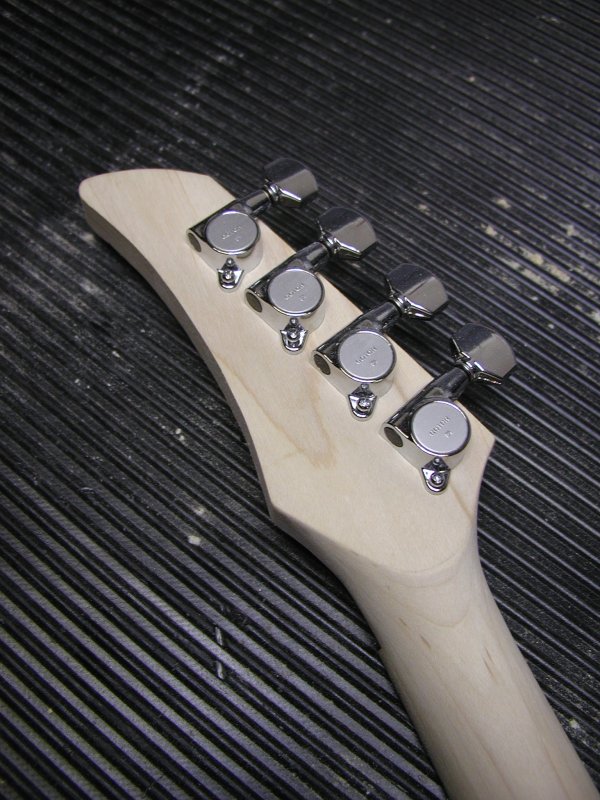

The tuners were installed with their include hardware. I also installed the string tree in directly in line with the top two strings between the nut and the tuners.
Installing the Bridge
 To locate the bridge in relation to the neck I held a long ruler up against the edge of the fretboard and used it to draw a line near where the bridge would be placed. I then laid out the position of the bridge using these marks to make sure the bridge would be in line with the neck. I then measured for the distance between the nut to the bridge. I placed the bridge so the scale length of 22.2 inches from the nut would fall about in the middle of available travel of the saddles. This would hopefully allow the largest possible travel for intonating the individual strings. I installed the bridge using two #6 by 1 inch long oval head screws.
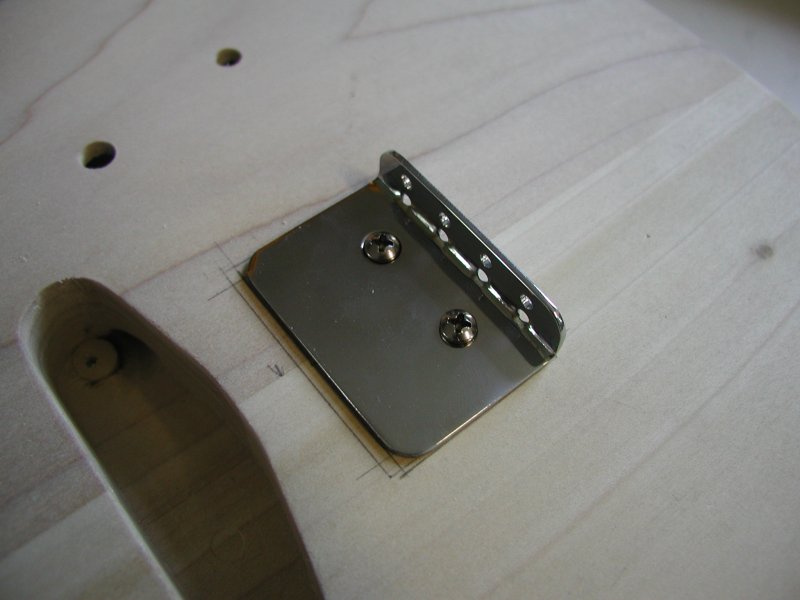 It was a good thing I used the neck to find the position of the bridge and didnt just install the bridge where it was supposed to be according the plans. It turned out that the neck was slightly out of alignment with the centerline of the body. With the body finished, the neck and bridge being off center is completely unnoticeable since it is off by a relatively small amount. Had the bridge not been installed in line with the neck it would have caused the strings to be unequal distances from the edge of the neck which would have been very noticeable and possibly hurt the instruments playability as well.
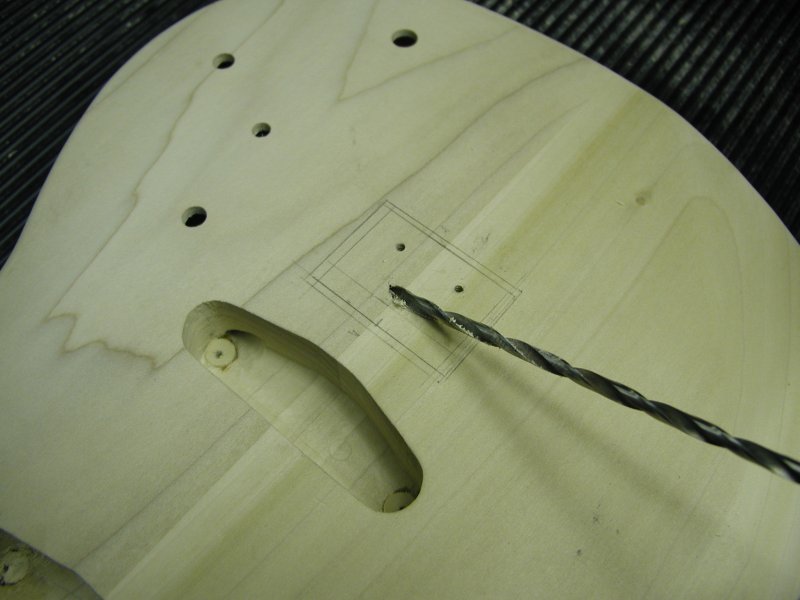
Cavity cover
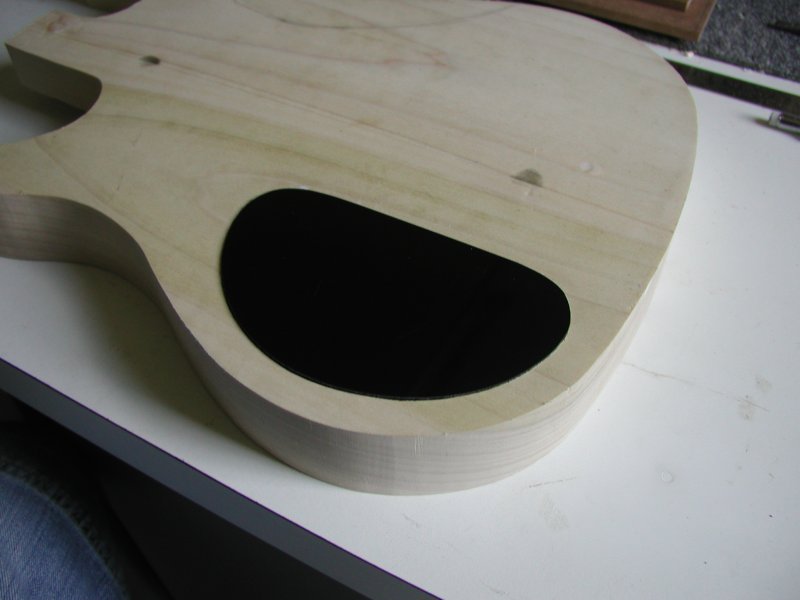 I used a paper template to cut out the rough shape of the cavity cover on the bandsaw, which cuts thicker Delrin surprisingly well without chipping or shattering the piece. I then slowly and carefully fit the cover to the recess by hand. To position the holes for the screws, I marked the position of wooden projections on the body of the EOM then approximated the distance inwards on the cover. I then drilled a hole through both the body and cover so they would match perfectly. The last step was to counter sunk the covers holes so they would fit the oval head screws.
Installing the Pickups
The worst part about installing the pickups was getting the predrilled holes lined up for the #4 wood screws that would later hold the pickups in place. It is difficult to access the bottom of the cavity or even see what youre doing enough to start the two holes. The springs I used to hold the pickups up are about 3/16ths in diameter and 1.25 inches long. The required spring length may vary depending on the depth of the cavity and the height you need the pickups to project out of the top of the body.
Preliminary Setup
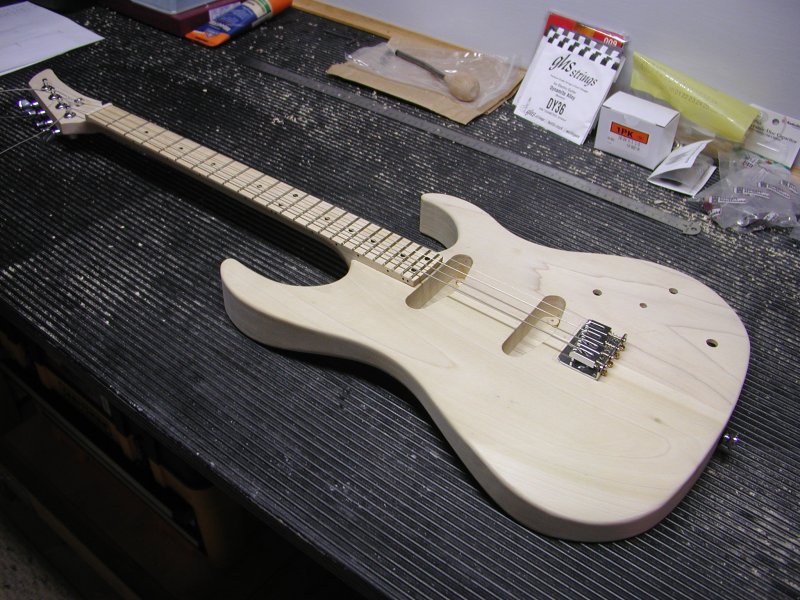 I did a preliminary setup before painting to make sure the bridge was in the right place, to adjust the action and to set the height of the neck above the body. This being a new design with parts I had never used before, I was unsure how everything would fit together.
 For steel string guitars the recommended action (height of the bottom of the string above the 12th fret,) is around six to eight 64ths with the action a bit lower on the treble side. Ibanez comes from the factory a bit lower than that at 5/64ths and 3.7/64ths on the low E and high E strings respectively. I was able to get the action down to about 6/64ths without buzzing using the equivalent of a set of light strings. This is higher than I would like, but still reasonable compared to a guitar and very easily playable. For the next EOM Ill be aiming for an action around four or five 64ths using light or extra light strings without any buzzing.
While doing the setup I ran into a few problems. The first was that the neck was slightly bowed backwards. This caused buzzing, especially on the G and D strings. To compensate, I had to set the action higher than I would have liked to get rid of the buzzing. Since the neck didnt have an adjustable truss rod I didnt have many options as to how I could fix the problem. I ended up angling the neck forward to compensate for back bow of neck by removing material from the heel. I also thinned the heel so it would project about 1/32 above the body at its front tip. This method worked although it definitely was not ideal.
Drilling the Ground Wire
 The last step was to drill a hole from under bridge to the electronics cavity. This passage allowed a wire to be connected to the bridge so it could be grounded.