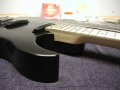
Tools
I bought a few new specialty tools for this project which will make fretting easier than on my last mandolins. I also made a very useful a cross cut sled for fret slotting. The rest of the tools I used were essentially the same as the ones used to make my first acoustic mandolin: tools.
Fret Crowing File
One tool that I really needed on my last projects was a fret crowning file. This file makes it very easy to put an even curve on top take the frets after they have been leveled. Properly crowned frets both look better and are less painful to play. (I didnt crown the frets on my last mandolins which left them squared off on top which was uncomfortable when sliding between fretted notes.
Fret End Cutters
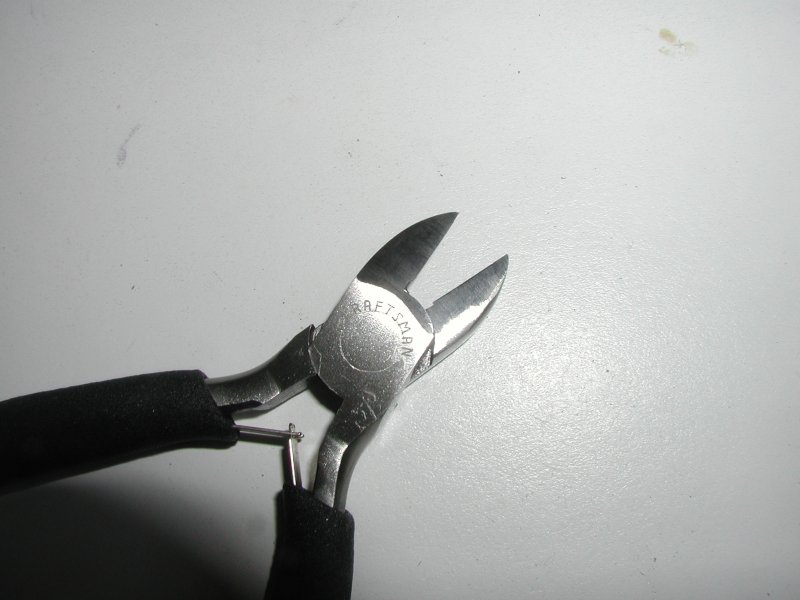 I made my own set of fret end cutters by grinding down the cutting edge of a pair of small diagonal pliers. Last time I used unmodified diagonal pliers which resulted in a large overhang of the fret ends past the fretboard edge even after cutting them off. The ends then had to be filed down smooth with the fretboard. This was a very labor intensive job. With the flush cutting pliers I only had to do a light filing and the ends of the frets where smooth to the touch and even with the fretboard. The pliers worked fairly well, but could have been much larger for easier cutting and less fatigue. I would suggest at least a medium sized diagonal plier. The tool Stewmac sells for this job is an end cutter instead of a diagonal plier. An end cutter could also be bought locally and modified.
Fret Slotting Saw
I was originally going to use a guitar fretboard and cut it off at the second fret, but decided it would be a good long term investment to get a fret slotting saw that fits a table saw. The slotting saw will allow me to make fretboards with custom scale lengths. I will also be able to use of whatever wood is available or desired for the fretboard. The maple fretboard made for this project cost less than $1 in wood and took very little time to make.
Cross-cut Sled
Since I wanted to make a custom maple fretboard, I needed to make a fret sloting cross-cut sled to make the fret slots. The sled was made of a 24 inch by 8 inch mdf base and two cross braces of scrap maple. The rear cross brace spans the entire width of the base and acts as the fence for holding stock perpendicular to the blade. The front cross brace is just there to provide support and keep everything square.
Gluing the Parts Together

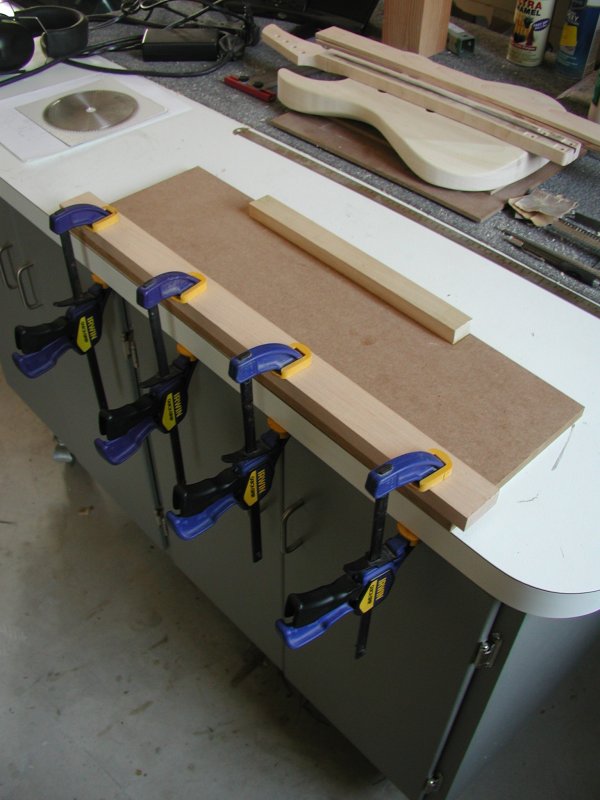
I started by gluing on the two cross braces one at a time to the mdf base using a flat table surface to clamp the assembly to in order to ensure a flat assembly. Since the cuts would be very shallow using the cross cut sled only for fret slotting duties, I glued the braces flat as opposed to vertically for a greater gluing surface area and since the added stiffness wasnt necessary in the vertical direction.
Attaching the Miter Gauge
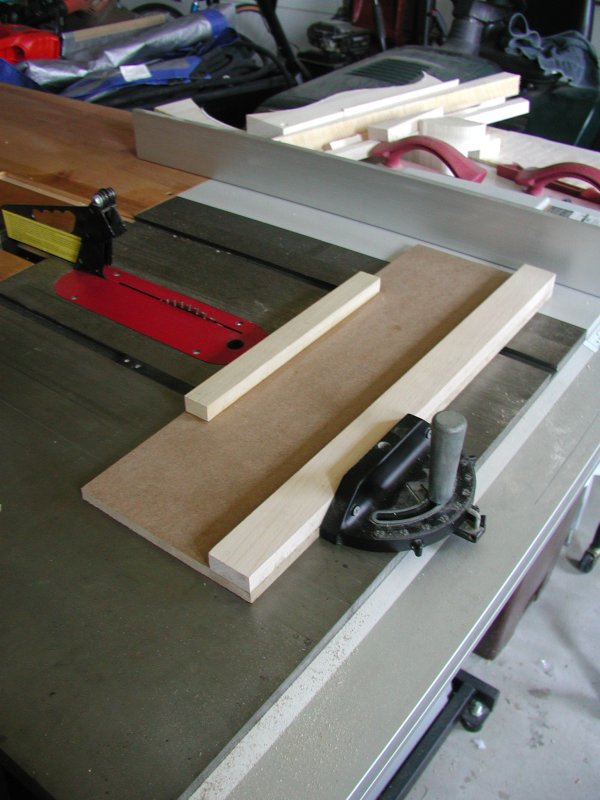 Using the already square edges of the mdf, I squared up the edges of the base and brace assembly on the table saw. I attached the base to an existing miter gauge which has two holes for screwing on accessories. I drilled pilot holes for the two screws and then screwed the miter gauge to the cross cut sled making sure that the sled would be flat to the table when attached. This method is much easier and faster than making your own runners to fit the table slow slots assuming you already have a miter gauge. It also lets you use the built in adjustment on the miter gauge to make sure the sled is perfectly parallel to the saw blade.
First Pass
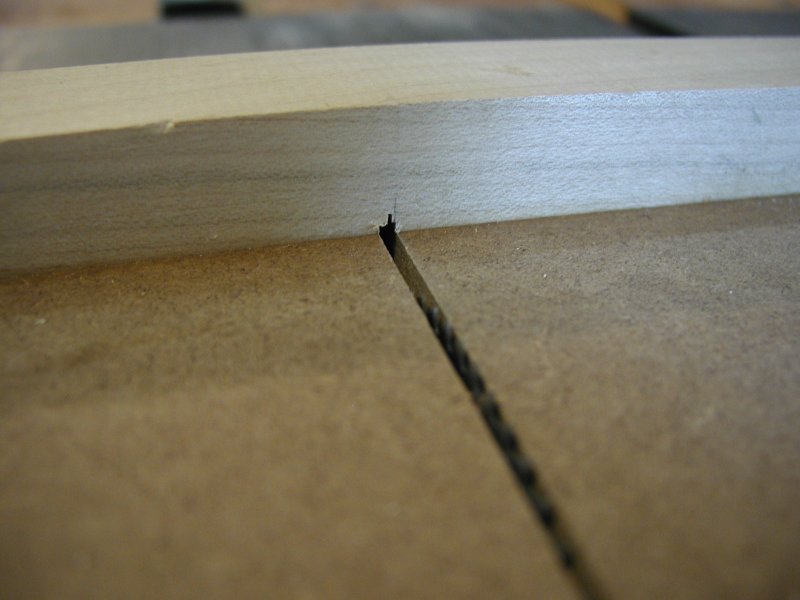 The very thin blade of the slotting saw has a non-cutting raised section that acts as a built in stiffener. To clear this part of the blade, I ran a pass with a 1/8th inch wide table saw blade that just pierced the top surface of the mdf. This allowed the fret slotting blade to pass through the 1/2 inch thick mdf and the .07 inches into the fretboard to make the fret slot without the non-cutting stiffener contacting the sled. The last step was to install the slotting blade, cut a reference slot and then extend that line up in pencil so I could later tell where the slot would be on the fretboard.