Binding the Soundbox
Gluing on the Top
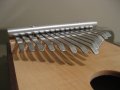
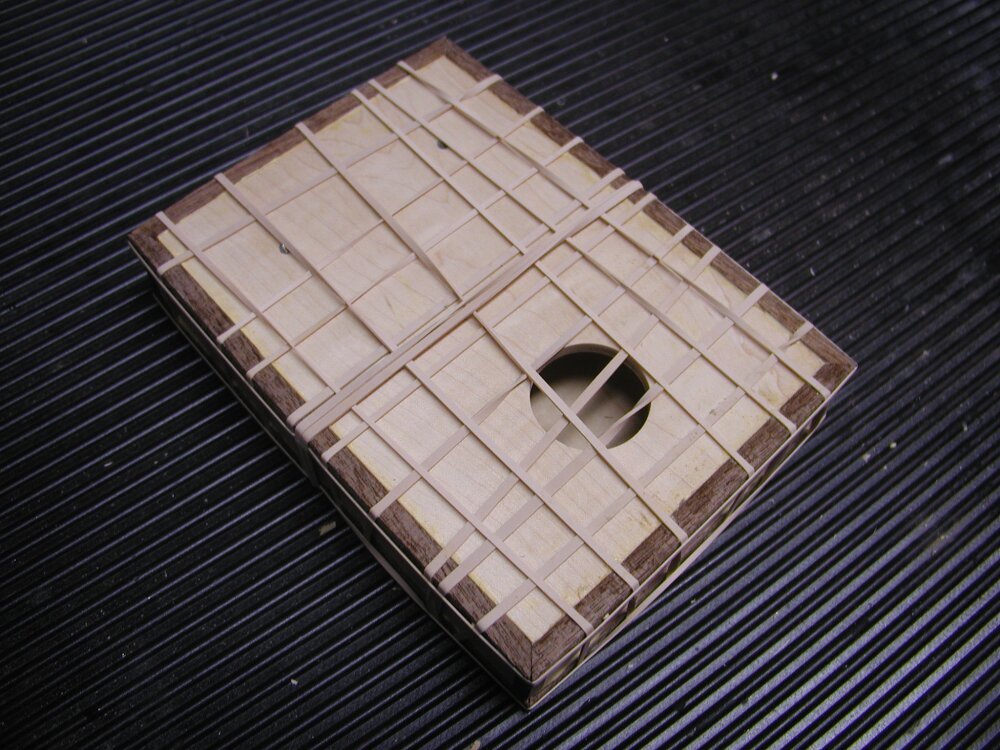
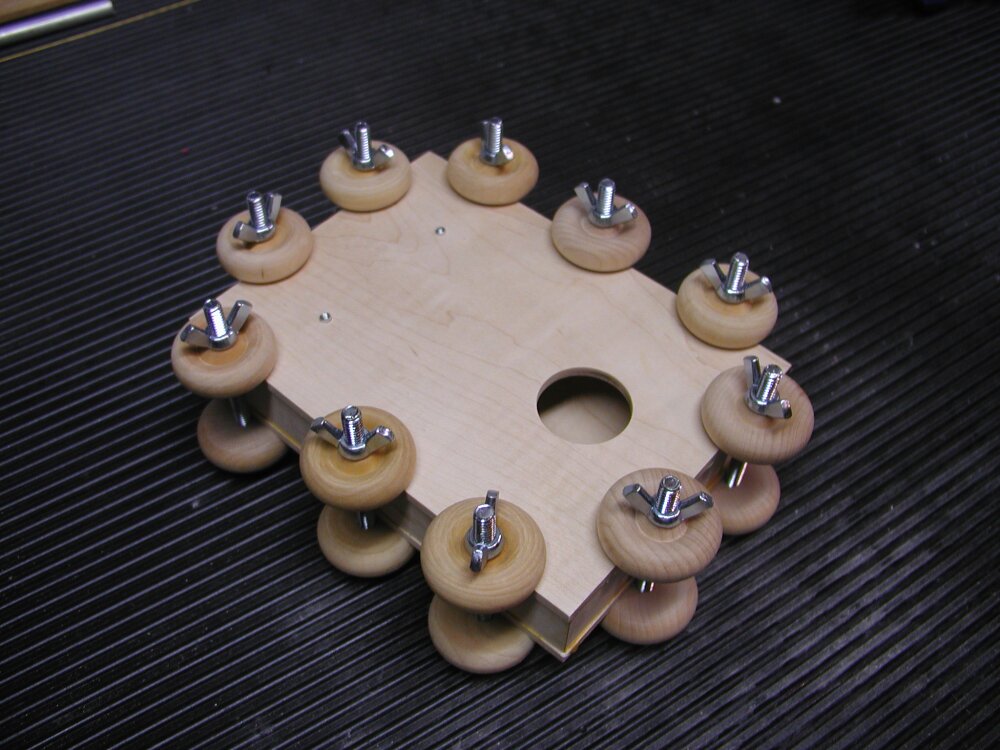 Before I could start on the binding, I had to glue on the top of the box. I used the same glue as before to glue on the top, but this time clamped the pieces together with a bunch of the home made spool clamps.
 Once the glue was dry, I sanded the overhanging edges flush of the top and back on belt sander, trying to make them as square as possible. I also sanded the protruding t-nuts flush with the top surface of the box. Everything has to be flush and square for the next steps or it will interfere when cutting the rabbets for the binding.
Why Binding?
I was surprised how nice the box looked at this point. Even though I hadnt been very careful making the joints since I knew they would be covered later by the binding, they still appeared relatively tight and gap free. With a bit more care in the earlier steps, you could easily make a very nice looking box without the binding if you prefer the look. In my case, I had to add binding to cover the wane from poorly resawing the top and back (and my still iffy looking joints.) I also just personally prefer the look of a bound box.
Material
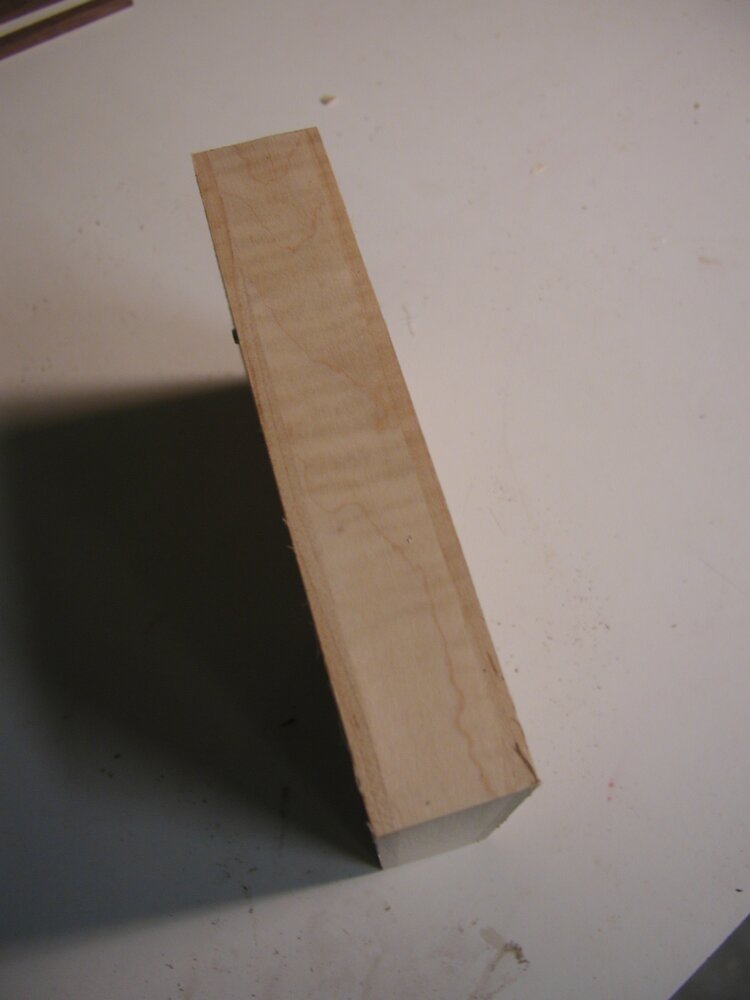
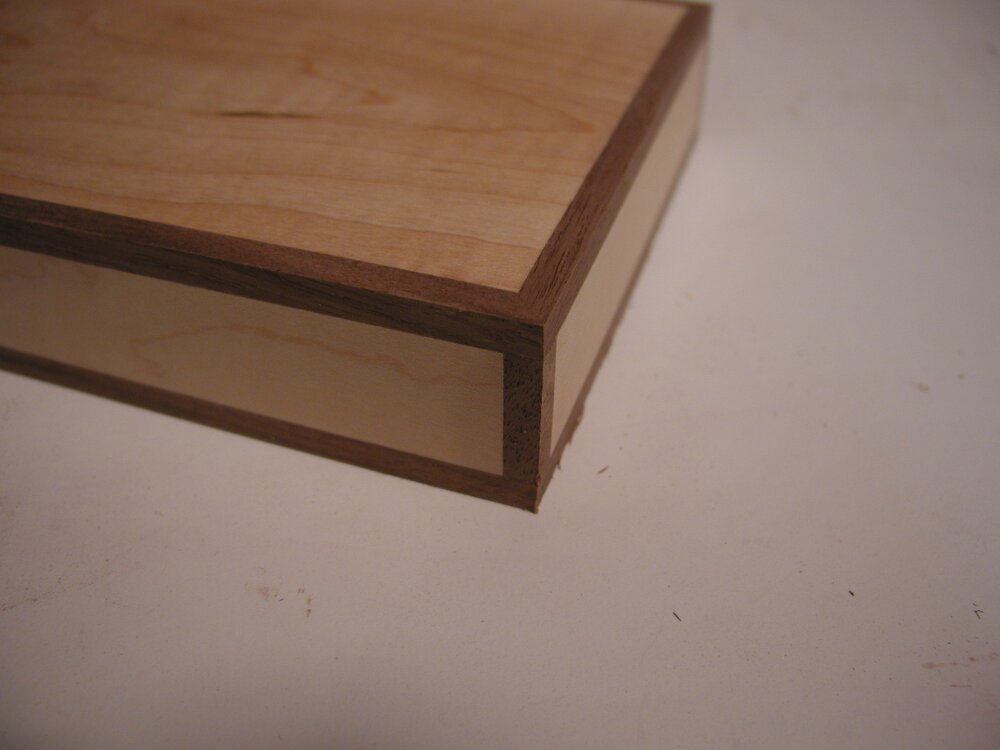
I used walnut for the binding on my box. It was rough cut to a 1/4 inch square from a long but narrow piece of scrap I had from another project. I sanded the pieces so they would be perfectly smooth and square on at least two adjacent edges that would later be glued into rabbet made on the edges of the body. These sticks fit well in the rabbets while still not taking too much sanding to make flush after being glued in place.
Setting up the Cuts
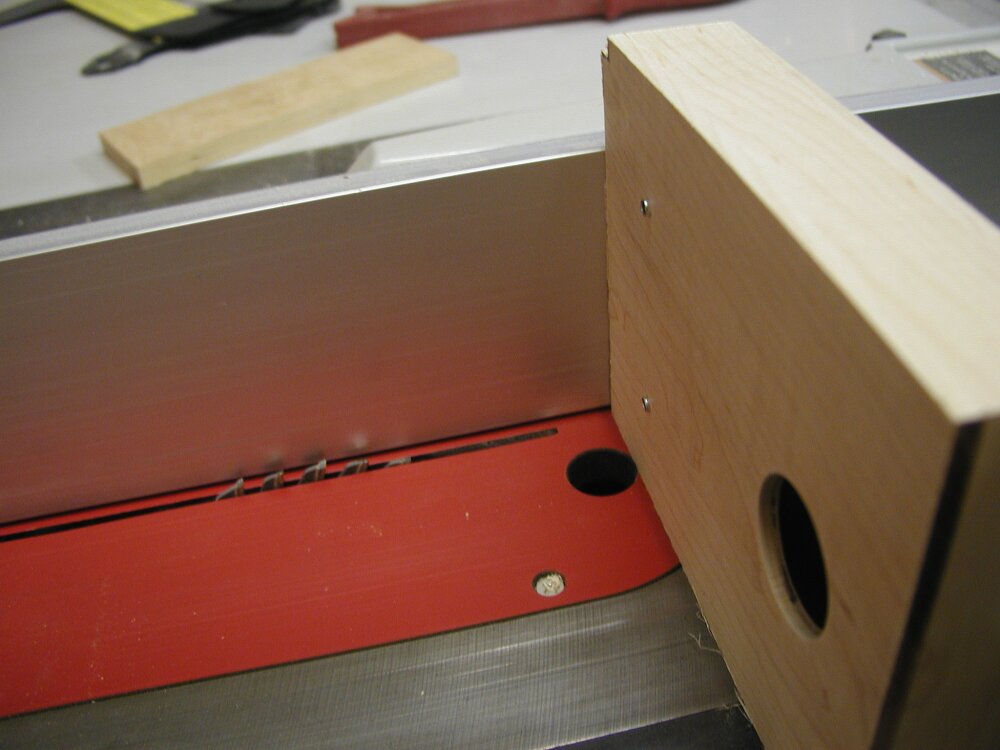 To make these cuts on the table saw, I set the depth to just under the actual width I wanted the binding to be. I set the width using the fence to the actual width I wanted the binding to be. The width was a bit over 3/16ths of an inch on all edges. This leaves the binding wide enough to cover the top to side joints fully. It also made for a nice width in relation to the size of the overall sound box. Its best to err on the side of too shallow when setting the depth and be prepared to use a chisel to clean up the interior corner that will be left rather than going too deep. I didnt touch the fence and depth adjustments between making the various cuts for the bindings so all the sections of the binding would be as consistent as possible.
Cutting Corners
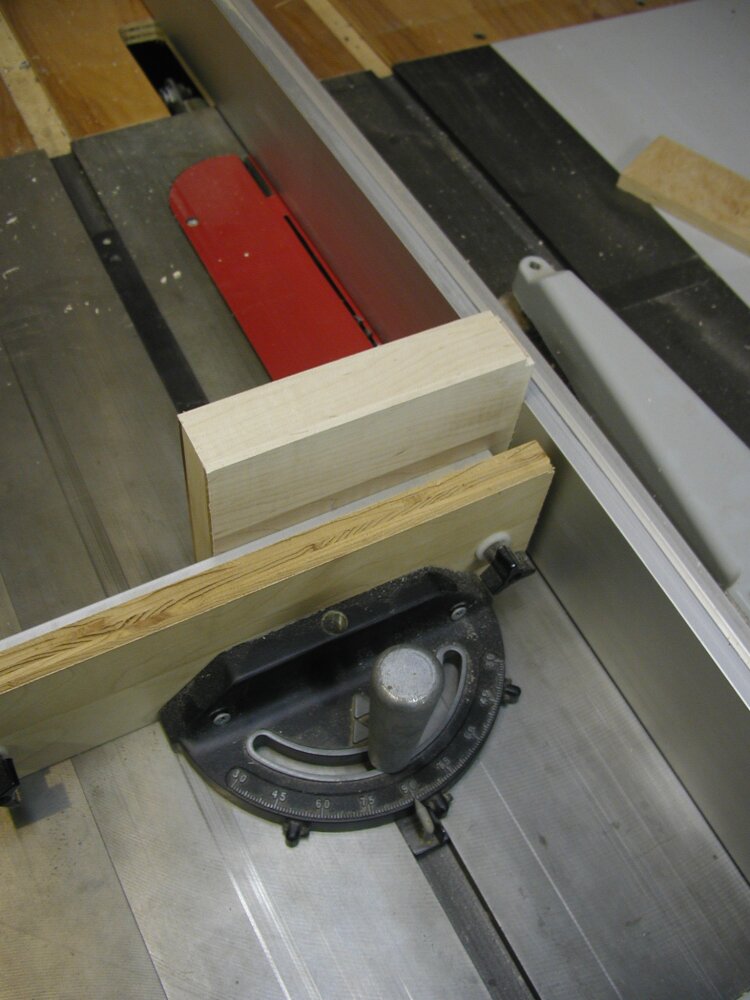
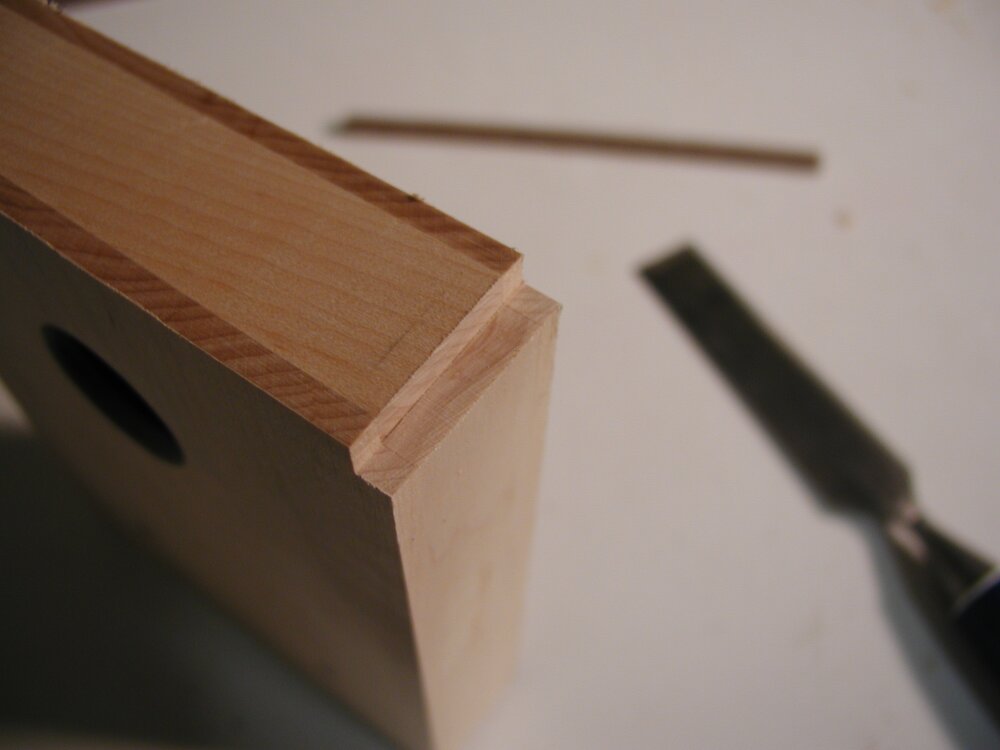
I started with the corner binding so the top could then be cut afterwards, removing any of the overhanging corner binding and covering the corner binding end grain. I ran the corners through the table saw using a miter gauge. Usually its not a good idea to use a miter gauge and the fence at the same time since the off-cut get caught between the blade and the fence resulting in kickback of the off-cut. In this case, the small off-cuts arent heavy enough to do any damage. And since the edge of the box is so narrow, the miter box is necessary for support and to keep everything square. The rabbet was completed with two cuts, one from each edge. I cleaned up any of the interior corners the table saw missed with a chisel.
Gluing the Corner Binding
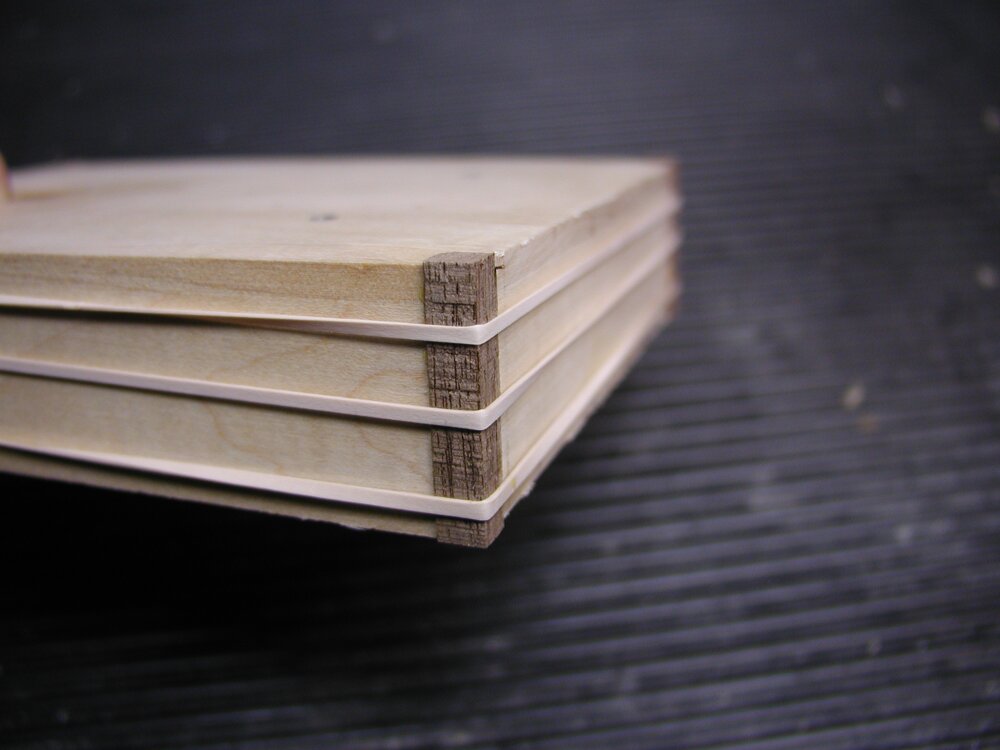 After cutting the walnut to length with a small hobby miter box and hand saw, I sanded the interior corners of the binding to ensure they wouldnt interfere with the fit of the pieces. I also checked that the binding pieces were square and would fit snugly in place in their respective rabbet. I glued all four corners in at once with wood glue and secured them with rubber bands. Once dry, I sanded the whole box on the belt sander until all the surfaces were flat and flush again.
Cutting the Top and Back

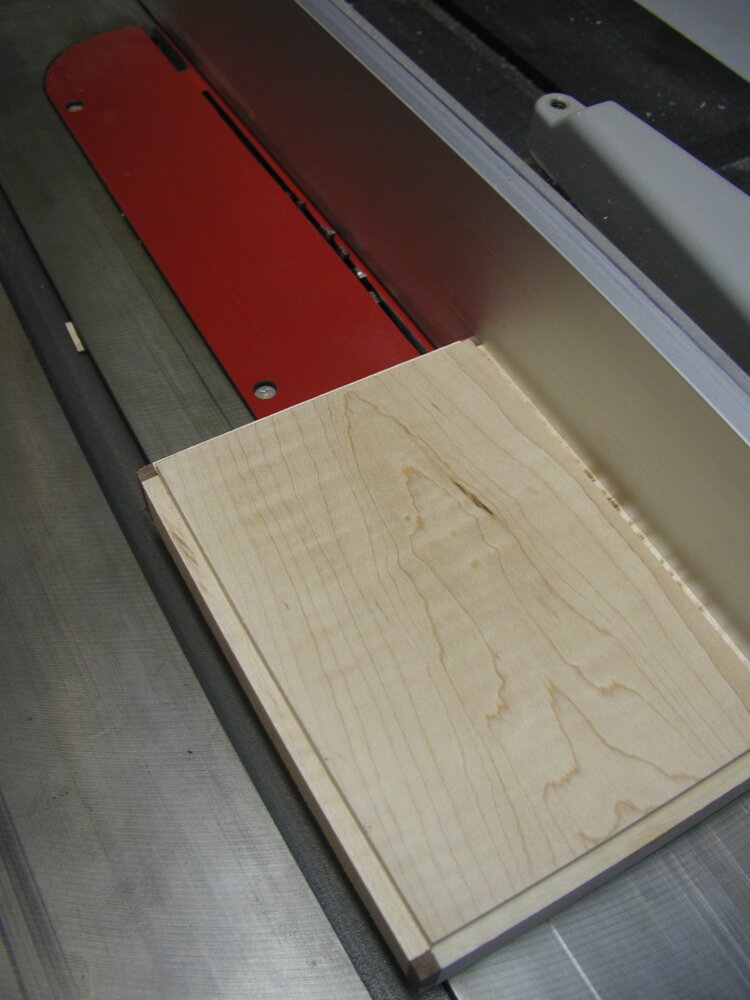
I ran rest of edges through the table saw, again without changing any of the settings. I pushed the box through by hand this time since it was stable in the remaining directions. I found it was very important to cut the edges (with the box on its side and the top or back flat against the fence) first to minimize chip out of the corner binding. To complete the cuts I laid the box down with its top and back flat on the table. When making the final cut on the long edges, long, 1/16th inch square pieces was freed which were then thrown back at me at high speed. This wasnt a problem since the pieces were very light, just stay out of the way and be aware. The final cross cuts made nasty sounds and chipped out the off-cuts rather than kicking them back. This still wasnt a problem for me or the box. I had to run some of the edges through the table saw a few times to ensure a square and even rabbet all the way around since the box wasnt perfectly square. Again, I had to clean up the inner edges with a chisel all the way around.
Gluing the Top and Back Binding
I used the hobby miter box to cut the sides to length and took off the interior corners of binding pieces again. Then I made sure each piece of binding would fit tightly. I used the disc sander and miter gauge to miter the corners of the binding and slowly bring them down to the right size as I did with the sides. I fit each piece of binding to its neighbors all the way around the box. Many, many small rubber bands were used to apply even pressure while the glue dried. One final time, I used the belt sander to bring the edges flush and make the box square again.
Finishing
 I sanded the entire exterior of the box by hand and rounded over the edges to a slight radius with up to 220 grit sandpaper. Feel free to radius the edged to your own taste. I essential just took off the sharpness of the edge allowing the box to be comfortable to hold while still leaving the edges as crisp as I could. Up to a 3/16ths inch radius could also look very nice. A larger radius would be much easier to make using a router table, just be careful of chip-out.
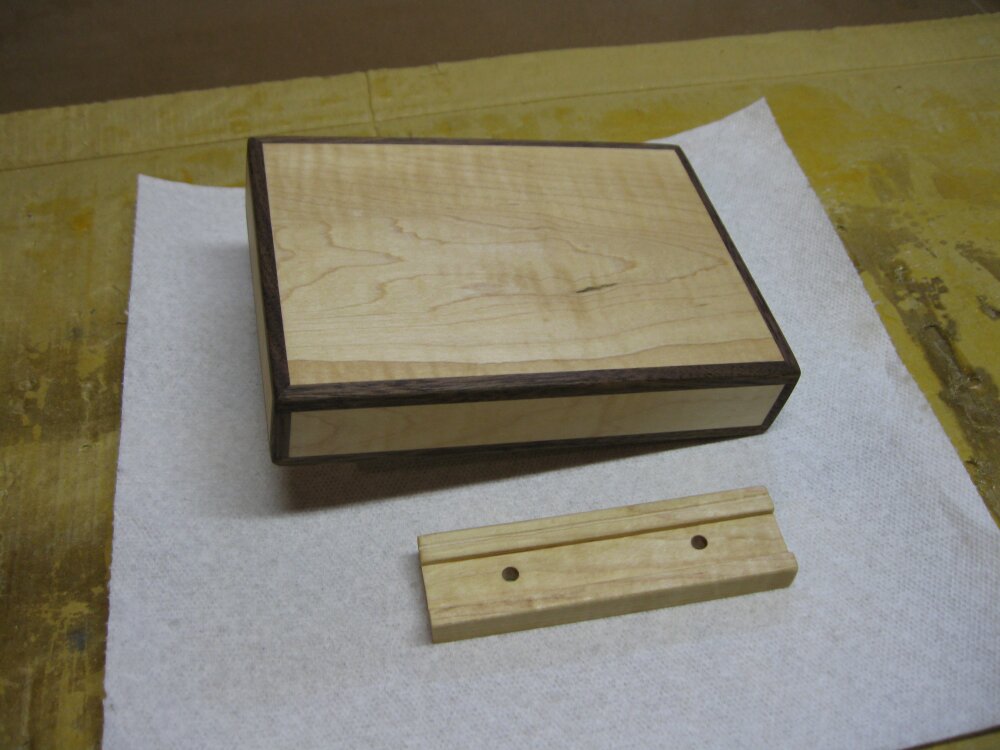 I used tung oil for the finish, applying it as directed on the can. Three coats were plenty for a bit of sheen and a nice feel. I rubbed each coat into wood and let it dry for 12 hours before lightly rubbing it with steel wool. I let the last coat dry completely before lightly hand buffing it with a cloth.