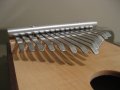
The Bridge
I started with a thicker block, but the bridge blank needs to be at least 7/16ths tall and 1.25 inches wide to make a bridge like the one I made. This bridge is a one piece design where the end stop and bridge stop are both made of a single piece of wood that connects together under the keys. This results in a stronger bridge than if the bridge and end stops were separate pieces both resting independently on the top of the soundbox. Strength is especially important to this design since it uses a thin, solid-wood top. This bridge design should hopefully transfer more of the sound coming from the keys to the top as well. I made this bridge quite tall so the tines would still be well above the top of the box for easy playing even though the tines dont bend upwards very far when tightened down with the rod.
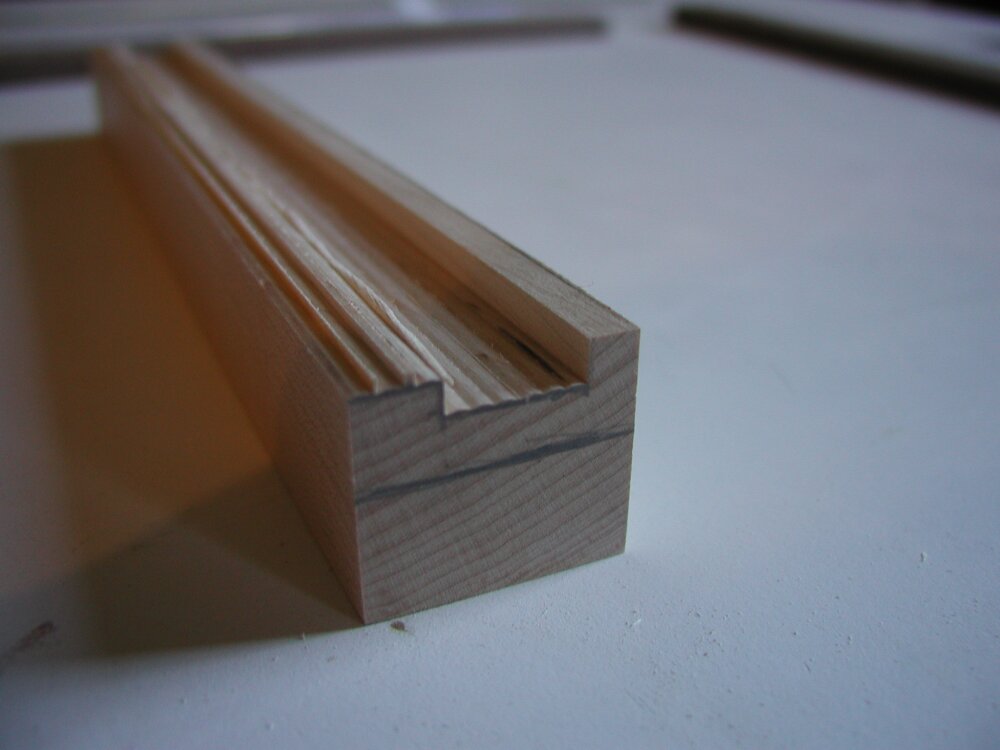
Slot

Bridge Hardware
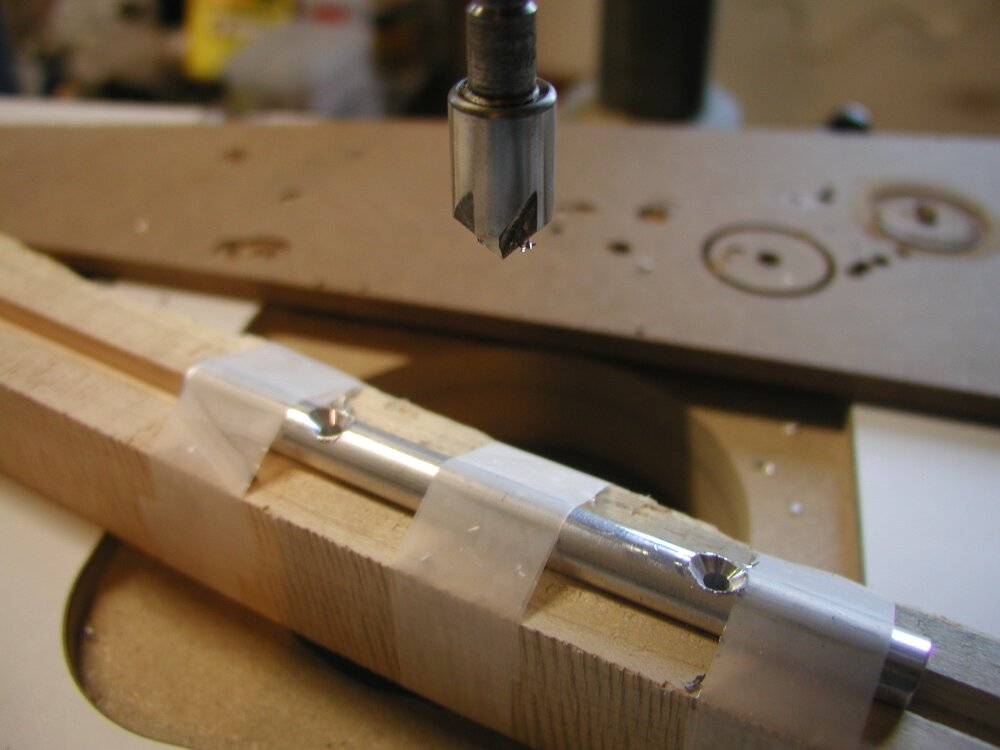 I cut off a 4.5 inch long piece of the brass rod to make the metal front stop for the bridge. I also cut a piece of 3/8ths inch aluminum rod of the same length to make the rod that will hold down the key. I drilled matching holes in the rod to accept the bolts. These holes were drilled in the same pattern as the other parts: two holes 2.375 inches apart. They were then counter sunk. Any round thing is always going to be hard to drill through. To make my life a little easier, I held the rod in place while drilling by taping it down to a scrap piece of maple that had a notch cut in it. This helped to hold it steady and straight while drilling.
Checking the Fit
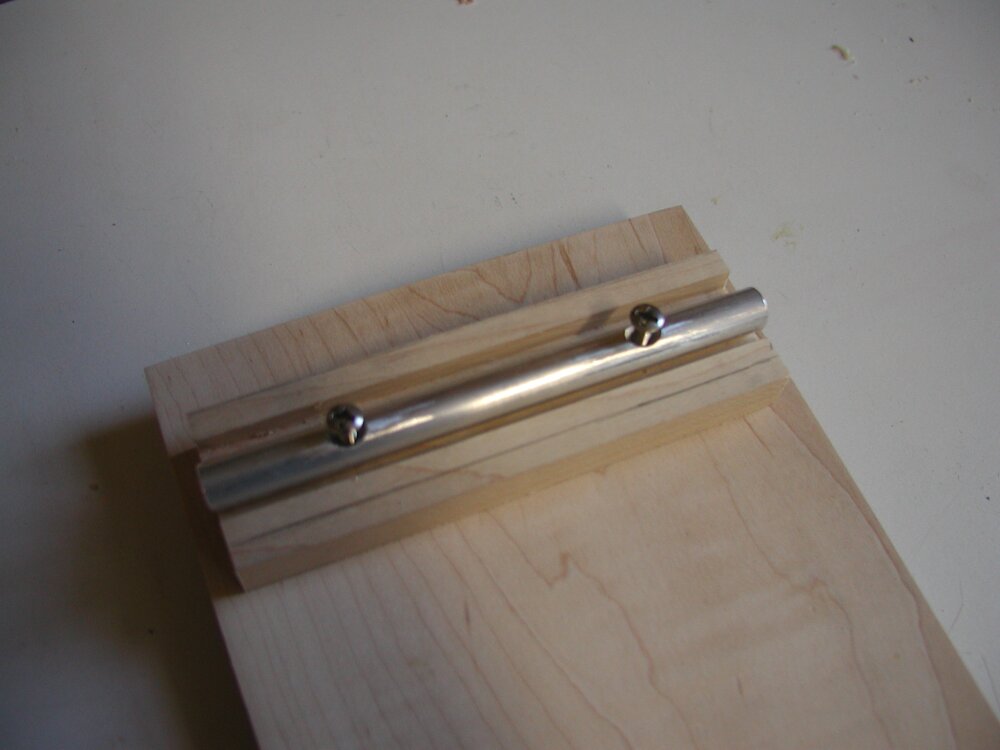 I checked the fit between top, rod and bridge and adjusted as necessary before attaching the top to the body. I had to drill the holes in the bridge and rod larger since these pieces didnt fit right away. It would be possible to fit these parts once the top was glued down since the adjustments are done to the rod and bridge, but I wanted to make sure all the parts would work together since I had changed the design from the last thumb piano I made.
Carving the Bridge
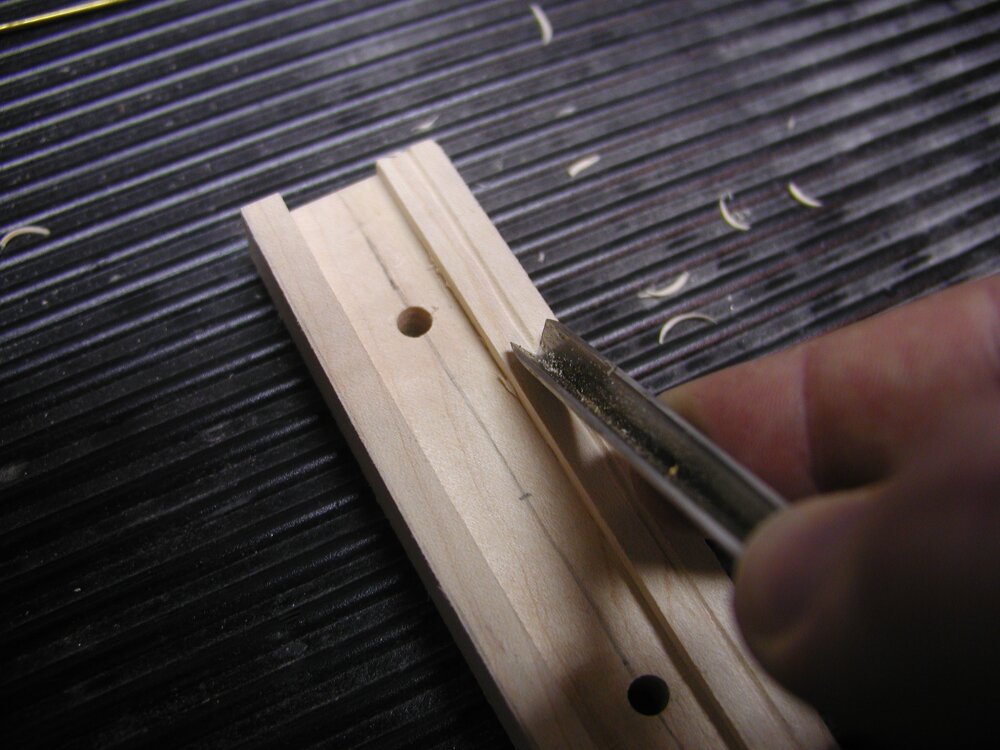
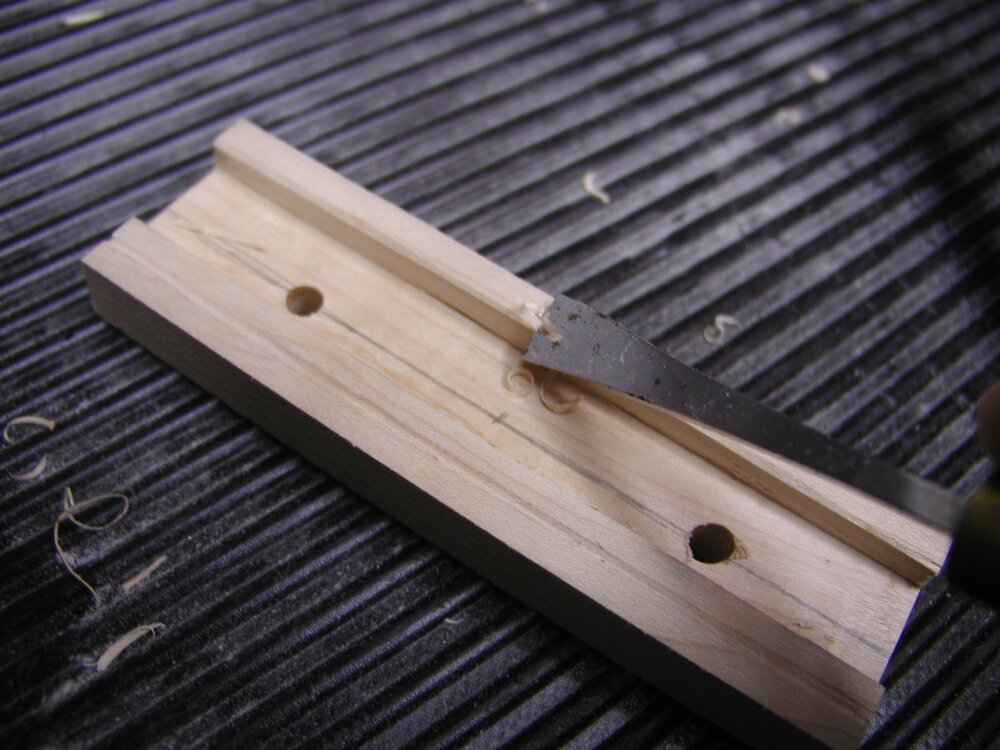
I rounded the edges of the bridge with a small chisel and some sand paper. To finish the bridge, I used a v gouge to carve a very shallow, straight groove to hold the metal bridge in place.
Polishing
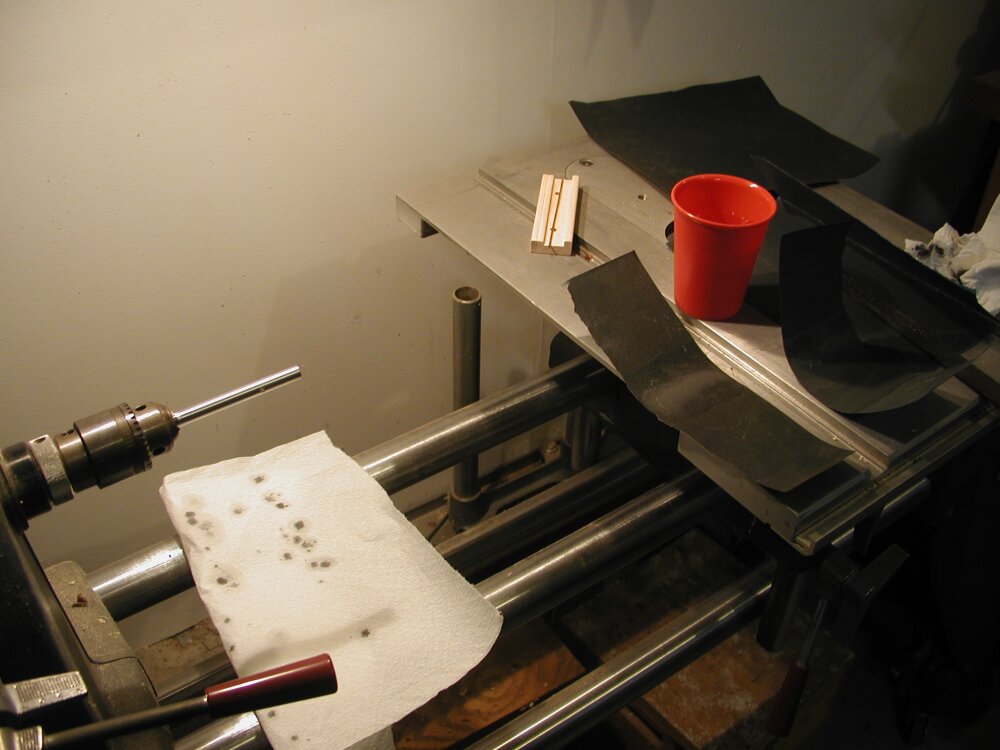 To polish the rod, I first chucked it on a drill press. I started with a file to remove large burs made while drilling and cutting. Then I progressed to 400 and 600 grit wet dry sandpaper using water as a lubricant to give a polished, shiny look. I also used the file on the ends of the rod (which had already been filed flat while off the drill press) with the drill press running to file them to a slightly convex shape. To finish the rod, I flipped it around to the other side that had been in the chuck and filed and sanded that side to match. I used a layer of paper towel to prevent scratches on the already polished area now in the chuck.