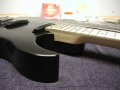
Carving the Neck
Attaching the Fretboard
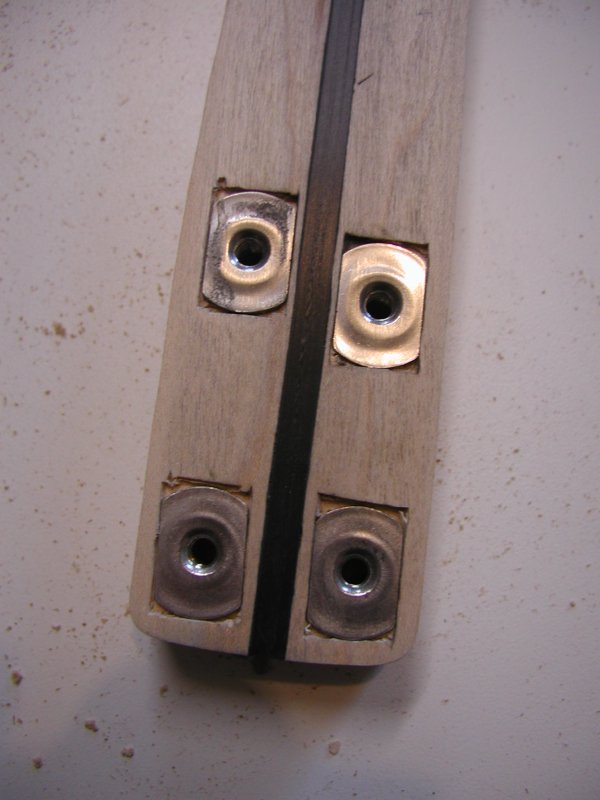
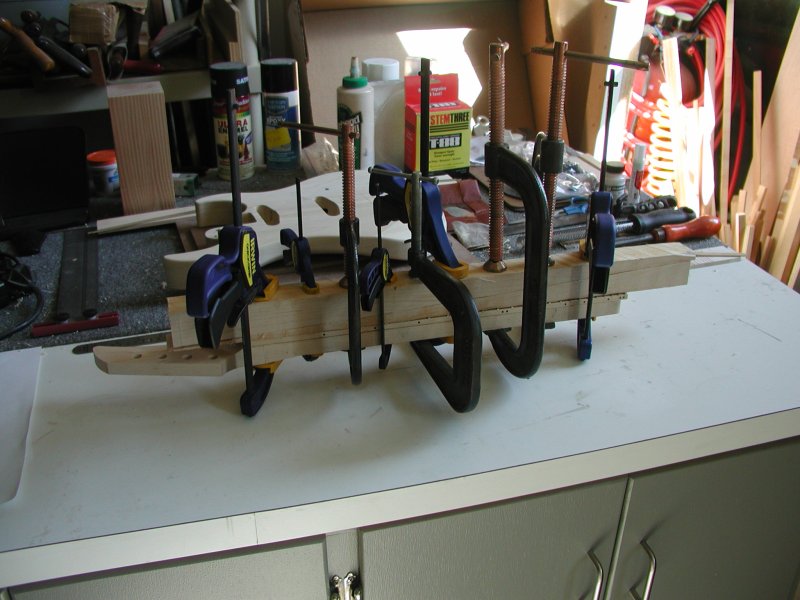
Since I would be using the fretboard as a reference for the top profile of the neck, I glued it on before doing any shaping. Before attaching the fretboard, I was careful to make sure the weld nuts were in place and properly installed in the neck since I wouldnt be able to access them anymore. After applying plenty of wood glue I used the alignment pins to get the fretboard into positon. I clamped the assembly with a large number of c clamps and quick grip style clamps using a maple caul on the fretboard side to distribute the load and protect the frets. I didnt use a caul on the back of the neck since that wood would be removed anyway.
Carving Method
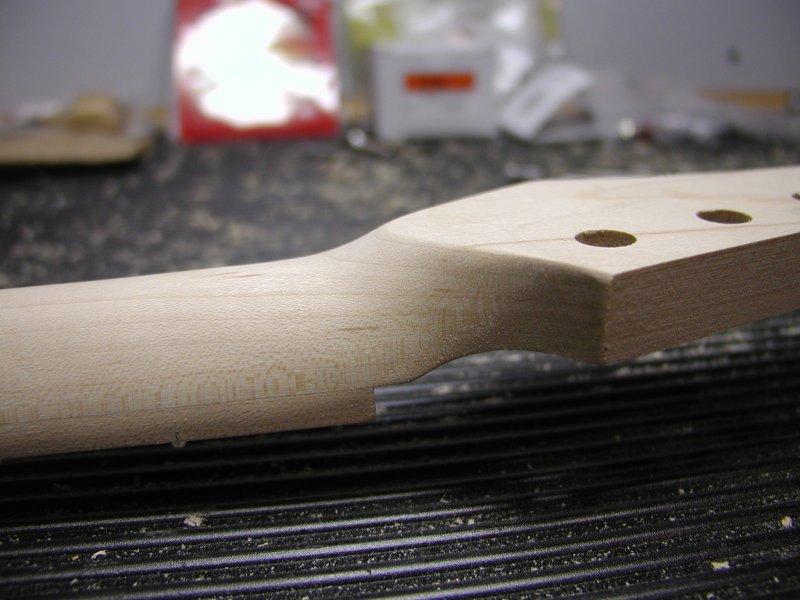
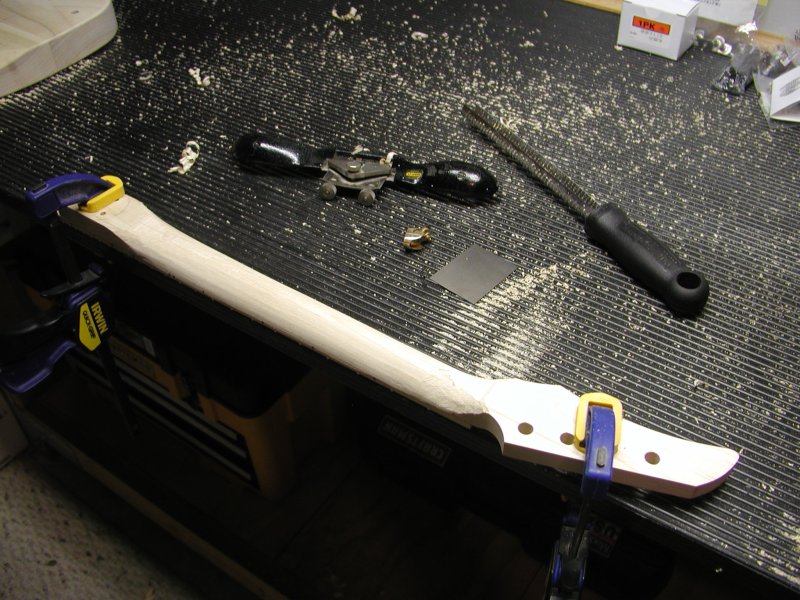 I used a combination of microplane, rasp, spoke shave, needle files, scrapers, and sand paper to carve and smooth the neck. I tend to take the entire lenght of the neck down at one time, alternating between sides and checking the feel of the neck often. I made sure not to take too much material off the back of the neck except to even out the cut made on the bandsaw. I didnt use templates to check the shape of the neck and instead went by feel mostly because I didnt really know what I wanted the end result to be.
Cross Section
The resulting cross section of the neck could be described as a medium hard v. The curve continues to the top edge of the fretboard which has a noticeable taper. This shape is reminiscent of acoustic violins and mandolins and lends a fast and light feel when shifting between positions. The shape becomes wider, flatter and softer as it approaches the heel. The one downside of this shape is the small area on the back of the neck to rest your thumb on when playing in a classical guitar position or while playing bar chords with your thumb behind the neck. A cross between a u and v shape or a softer v may be a good compromise for a good feel for all playing styles.
The Heel and Peghead
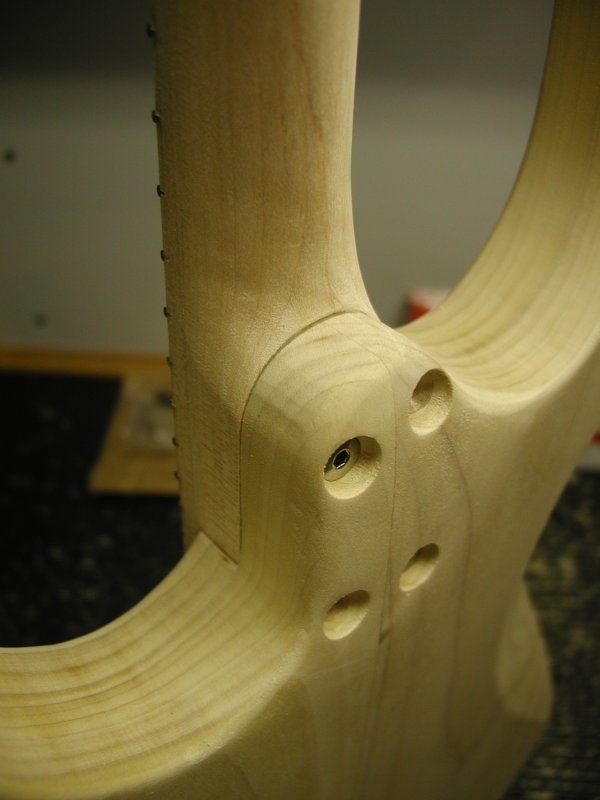
After the majority of the neck was carved to my satisfaction, I started carving the transitions at either end. At the heel, I carved the neck to be curved as much as possible up to the flat surface which will contact the bottom of the neck pocket. This was meant to make for as smooth a transition as possible while playing in the higher positions over the body. I carved the transition between the neck and the flat backside of the headstock so it would create a gentle curved shape on the back of the peghead. I also carved the back of the neck so it would smoothly transition into the lower sides of the peghead.