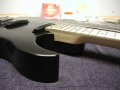
Finishing the Body
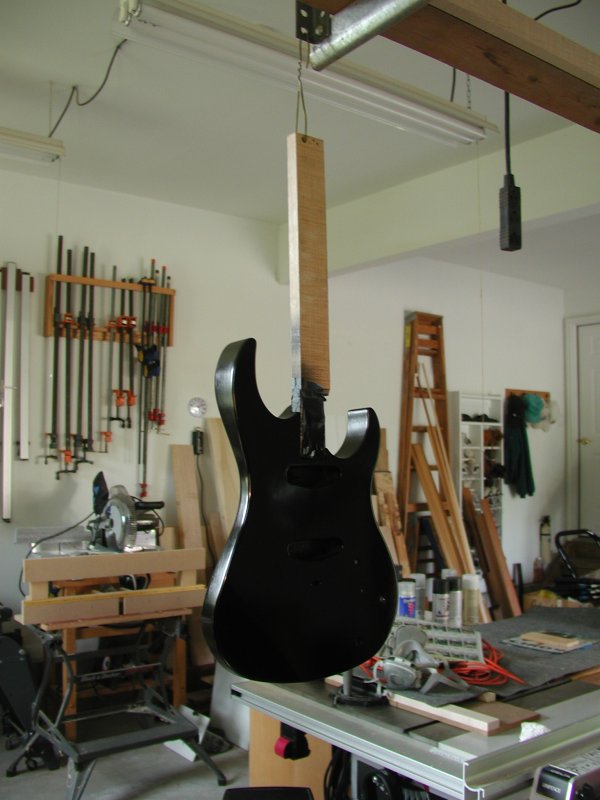
Handle
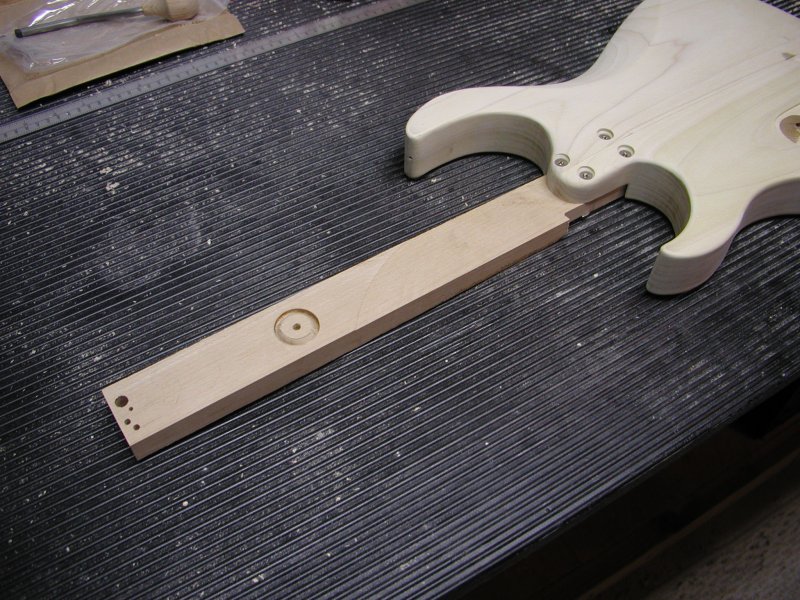

To hold the body while spraying it, I made a handle which could be attached to the neck pocket using the same bolts that hold on the neck. This not only allowed me to holding the body while coating the entire surface in one continuous coat, but it also allowed me to hang the instrument while drying. This method was only used on the color and clear coats since I wanted to have at least one coat of primer on the neck pocket so the entire body would be sealed. Still, for the final coats the handle was indispensable in getting even coats on the entire body.
Filling Voids
I used wood putty to fill any voids or gaps that couldnt be easily removed through sanding. For the voids I saw, this worked ok, but its not easy to see many of these problems on the wood body. It is, however, very easy to see every last imperfection when the body is painted black and the clear coats are buffed to a high gloss. I was able to catch a few more imperfections after the first few primer coats were added and filled these before adding more coats of primer, but many went unnoticed. The worst problems involve the subtle indents of the wood grain that were very hard to see and fill before painting. Even though poplar is a fairly even and closed grained wood, the grain was very visible after a few coats of primer. Bondo or a similar product applied to the whole body would likely be the best way to avoid these problem. A few coats of body filler to the entire surface and plenty of sanding once dry should take out all of the imperfections. This process could be repeated after the primer is applied if the finish still isnt smooth enough.
Primer
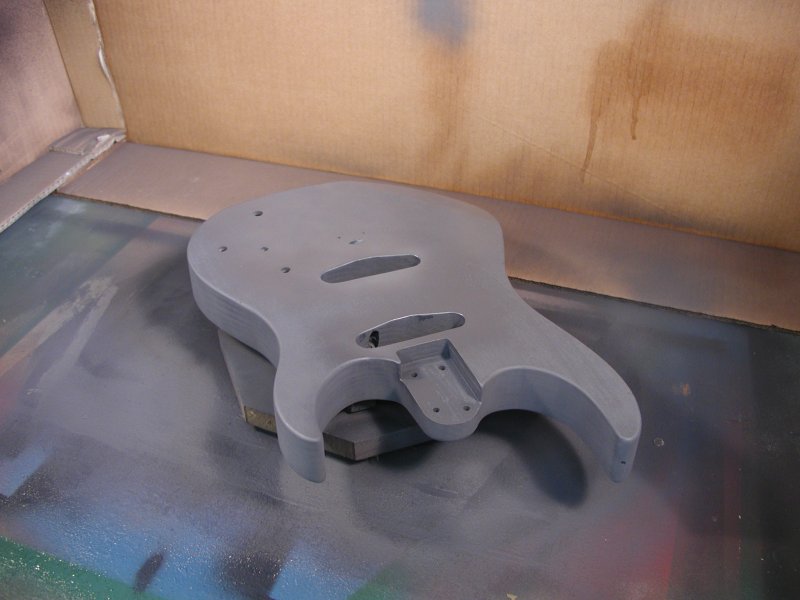 I used Duplicolor Sandable Primer which is recommended for the paint I would be using and is sandable allowing it to fill small gaps. I applied the primer while resting the body on a simple turntable made with a mechanism that can be found at any home center and a piece of scrap wood. A total of four primer coats were sprayed one side at a time with about a 10 to 20 minute wait before flipping to paint the opposite side. Laying the body down did allow the primer to stick to the two thin pieces of wood the back was resting on, but that problem could be solved with a little more dry time before flipping the body over along with some patience.

Each of the four coats of primer were sanded before the next was applied using up to 600 grit sandpaper. I added water as a lubricant while sanding the later coats. After the first two coats of primer, I used 150 grit sandpaper to correct problems that I had missed earlier. This included smoothing and refining the shape of some of the curves and taking out undulations in the hand carved areas. I also found problems in the hard to reach areas where I hadn't spent enough time sanding earlier such as the side surface on the inside of the horns . After sanding through the primer in many areas, I recoated the body with a few more coats of primer leaving a minimum of two coats on all parts of the body.


Attaching the Handle
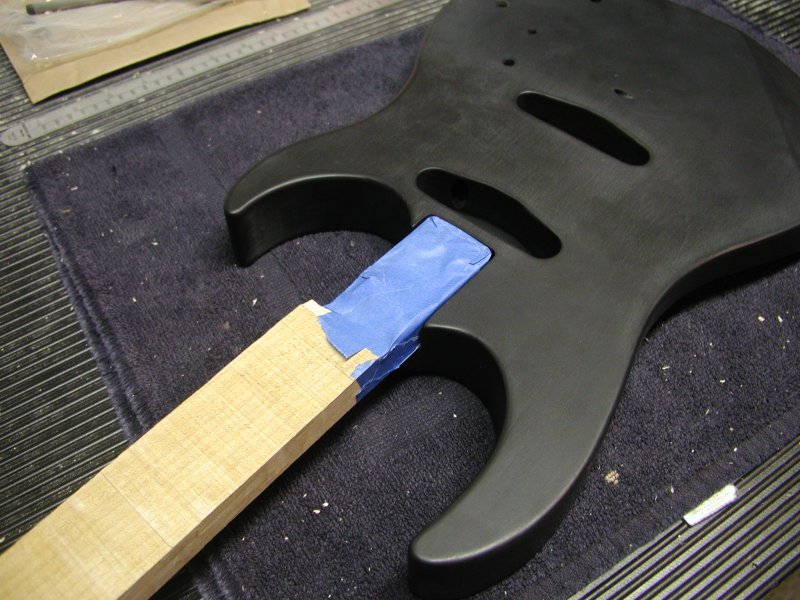 I first taped off the handle and the neck pockets bottom surface to protect them from overspray. To hang the body by the stick while future coats dry, I drilled a hole at the top of the handle so it could be hung by a hook on the garage doors track.
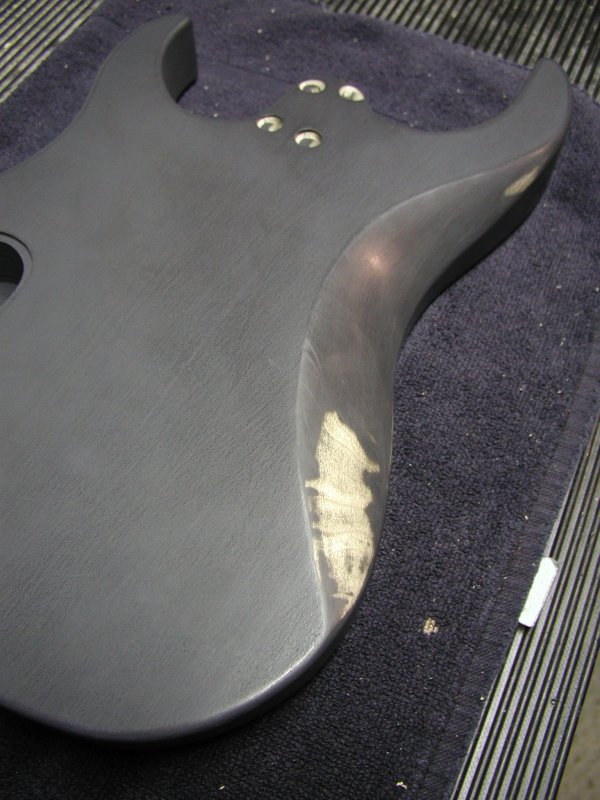
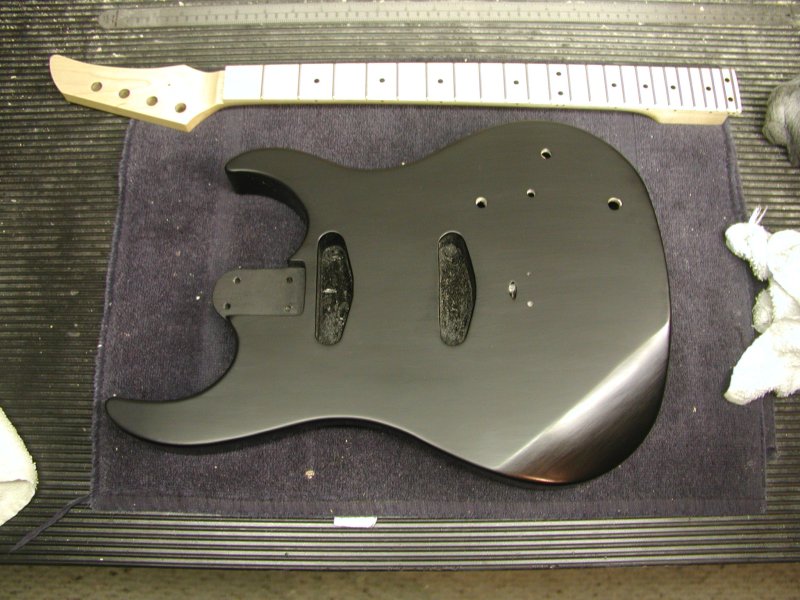
Color and Clear Coats

At this point, its just be a matter of spraying even coats of color and then clear over the level and smooth primer. I sprayed on two coats of the black Duplicolor Acrylic Lacquer color coat. Once the color coats had dried for at least an hour, I applied three coats of clear as stated in the clear coats instructions. I then had to wait 48 hours before doing any buffing or sanding of the clear coats. Most lacquer finished guitars use many more coats of finish and wait at least a few weeks before buffing, but I went with the instructions on the can in this case since this is an entirely different type of lacquer from the nitrocellulose lacquer used on many guitars.
Buffing
 After experimenting with a number of different methods, I ended up using 0000 steel wool to take the entire finish to an even satin gloss. Then, I used a fine instrument polish on a rag to buff the finish back to a gloss sheen. This still left a number of fine scratches from the steel wool, so it may be best to either leave out that step or to use another medium or two in between the steel wool and instrument polish.
I was interested in making a satin finish on the entire instrument. This could possibly be done using 0000 steel as I did on the clear coat, but would probably have to be done on the color coat instead since a satin finish on the clear coat made it look like a gray finish that hadnt been clear-coated yet.