The Neck
Wood
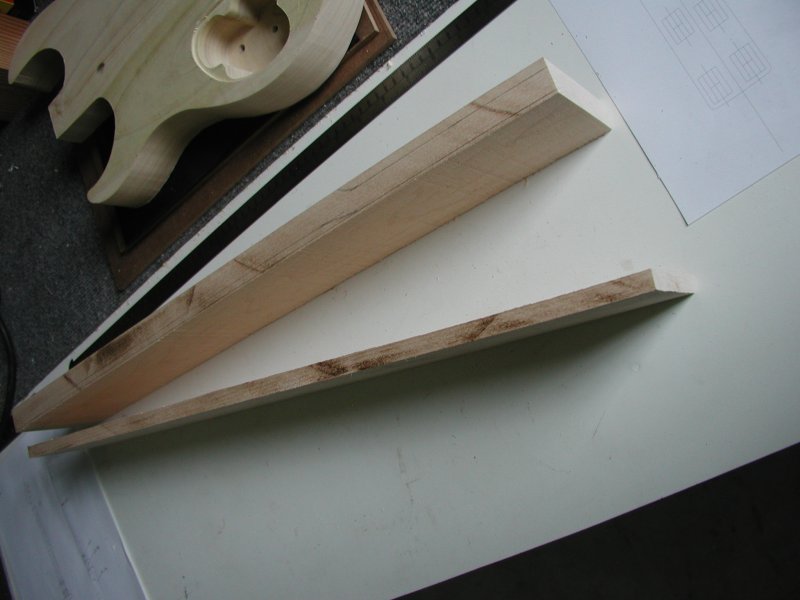
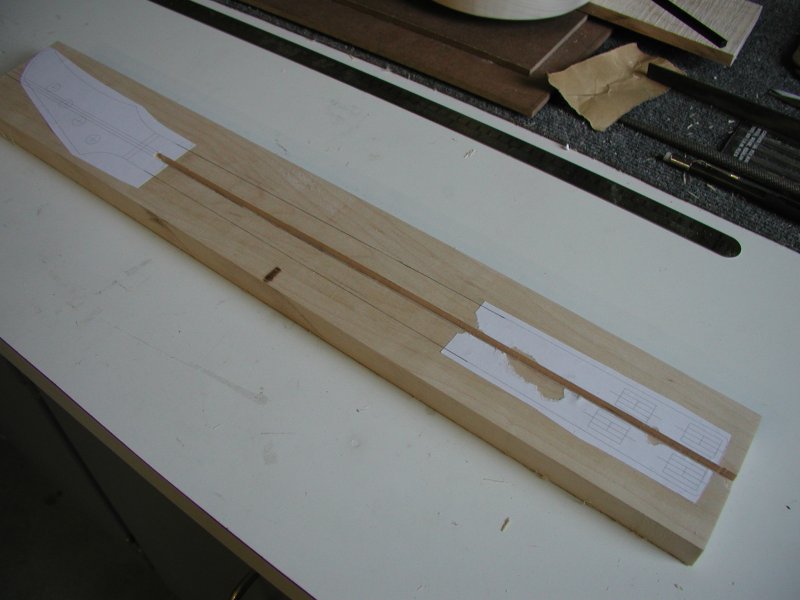
I used a 6/4 piece of maple for the neck. 5/4 or even 4/4 would have fit the Stratocaster style flat peghead, but I was originally planning on a different design which would have needed 6/4 stock. The oversized piece of stock ended up working out since it allowed me to cut out two fretboards from the left over stock under the neck.
Neck and Fretboard Blanks
Top Profile
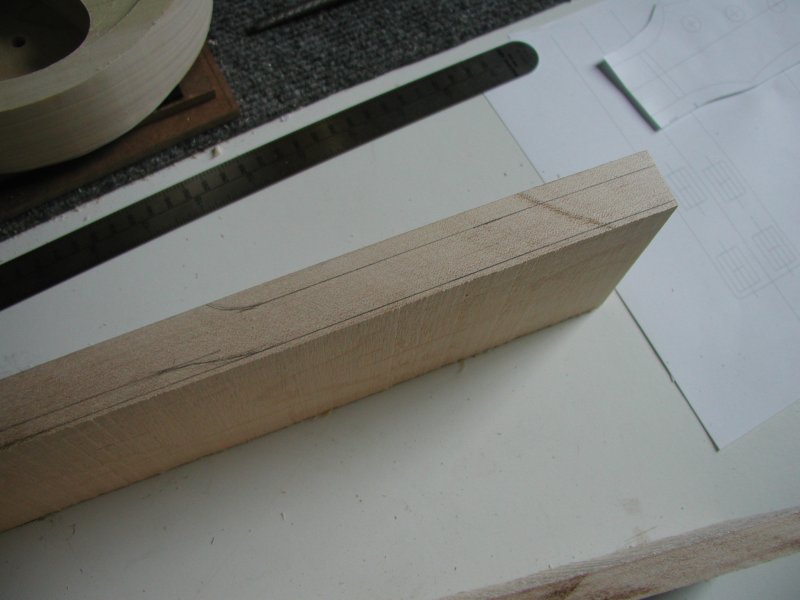
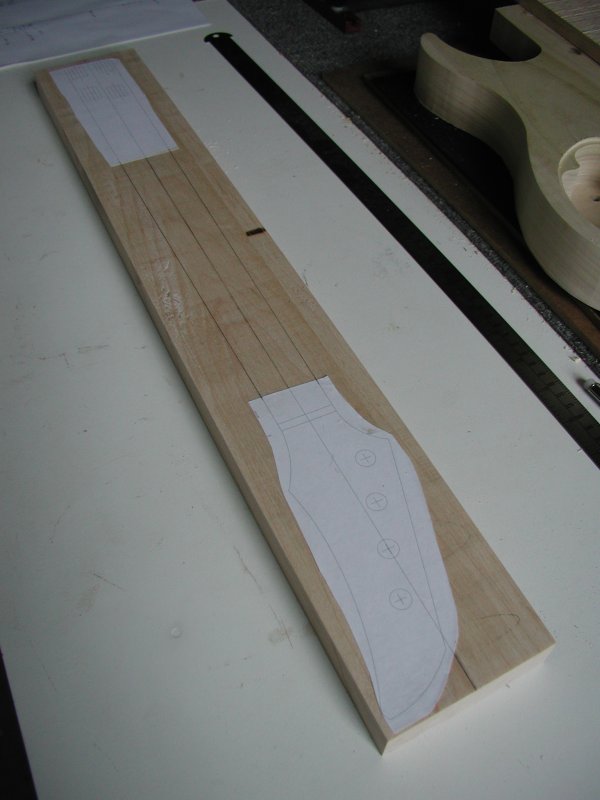 With the width and thickness established, I could lay out the neck using the centerline to align templates for the peghead and the heel. I connected these templates with straight lines to form the side of the neck since it was to large to fit one paper template.
Truss Rod Router Bit
I cut the truss rod slot with a 0.2 inch wide bit that came with a plywood rabbit cutting set. They sell a special 0.2 inch bit at Stewmac, but its expensive even for a router bit. I also cant help but thinking the odd size of the carbon fiber truss rod is only a ploy to get me to buy another specialized router bit. Why couldnt they have made the truss rod 0.25 inches wide? Then I could have used a much nicer 0.25 inch spiral cut bit that I already have.
Truss Rod Slot
 I cut the slot on the router table. Unfortunately, the fence slipped half way through cutting the slot leaving if off center. I had to reposition a new set of templates so that the truss rod would still be in the center of the neck. Using the router table also caused all of the chips to be jammed in the slot, packing in almost as though they hadnt been cut free. On the next version I plan on using the router without the table and cut the slot using an edge guide running along one or both sides of the blank. This will at least allow for more control and a better view of what is going on so I can stop the cut if there is a problem.
Tuners
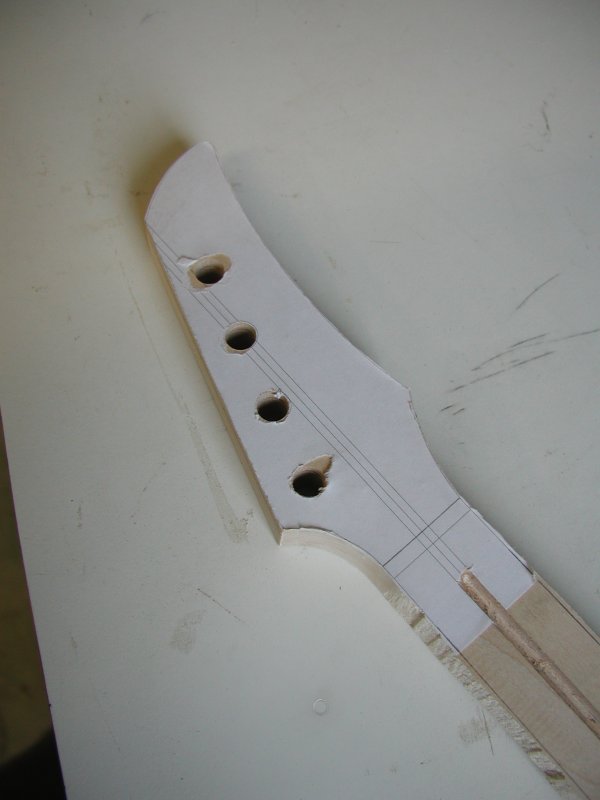
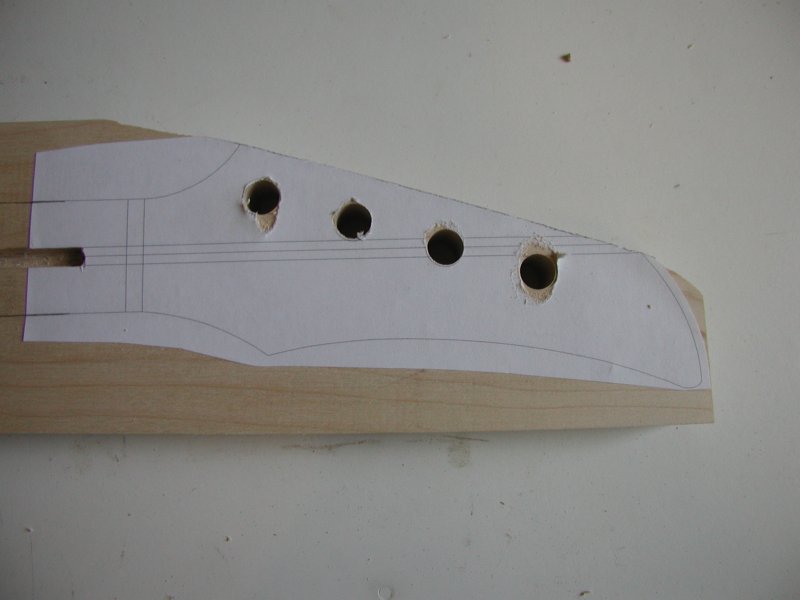 To make sure the tuners would be in a straight line, I bandsawed off the angled edge on the peghead to which the tuners will be parallel. I smoothed and straightened this edge with the disc sander. I then drilled the tuner holes using the cut off edge as a guide so the tuners would all be an even distance from the edge of the peghead.
Side Profile
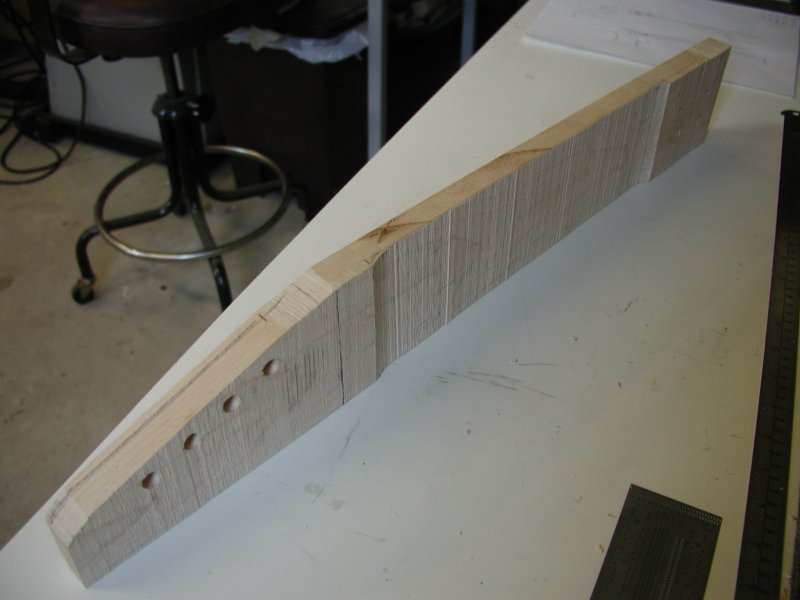

I bandsawed the side profile of the entire neck to just over final thickness. I left the neck joint area alone since I would fit that thickness later while setting up the instrument. I also cut the top off of the peghead while leaving the offcut attached to the neck so the top template would still be intact for the next step.
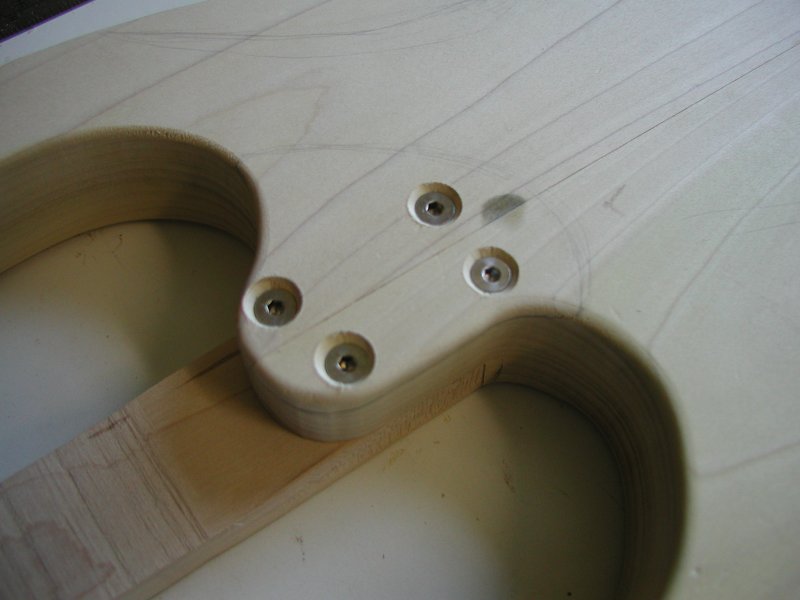
Drilling for the Neck Bolts
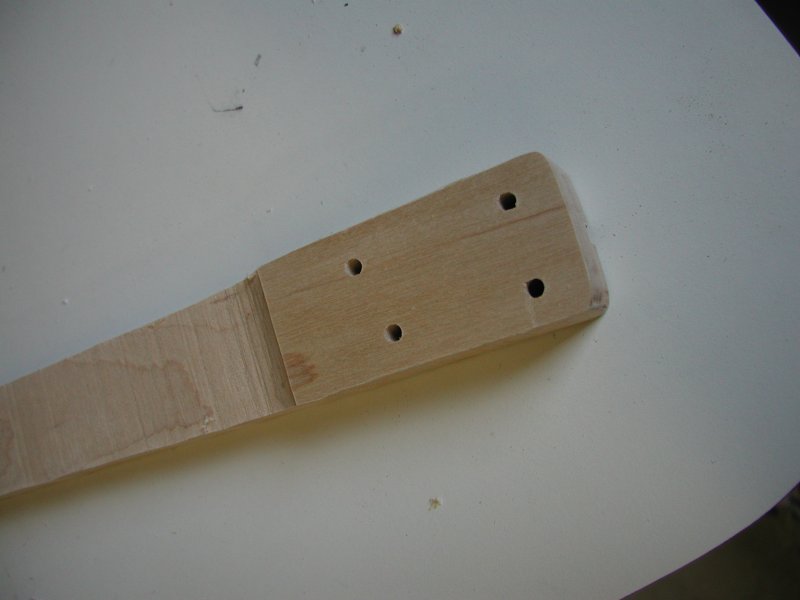 I drilled the holes through the neck so they would be just big enough to clear the machine screws. They were positioned using the existing neck template. I also drilled out the top 3/8ths of the hole to a larger diameter so the weld nuts threaded projections would fit.
Top Profile
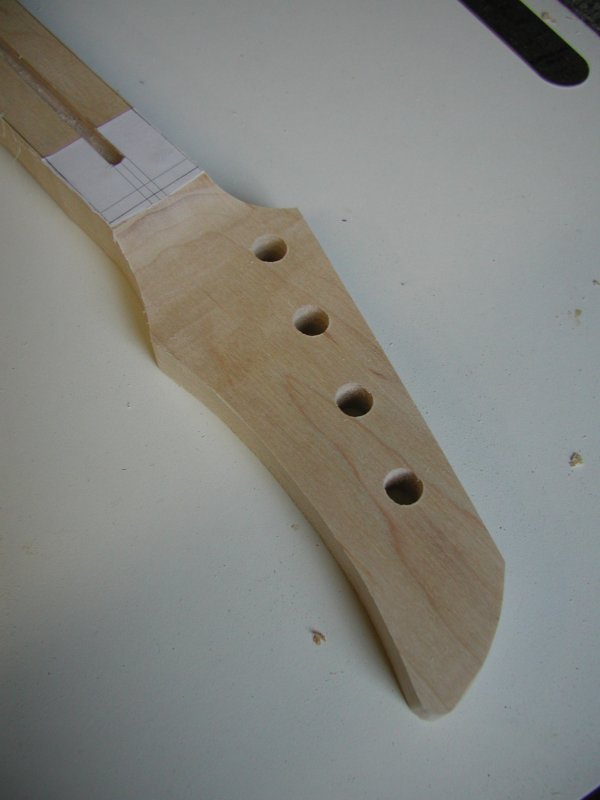
Using the templates already attached to the top of the neck, I cut out the top profile leaving a bit of extra material. I used a mixture of spindle and disc sander to sand the peghead to final dimensions while leaving the center section of the neck, which would later receive the fretboard, oversize. I slowly fit the necks heel to the neck pocket using the disc sander. I started by working off the template then switched to using the neck pocket directly when the heel was close enough to size to nearly fit.
Peghead Thickness
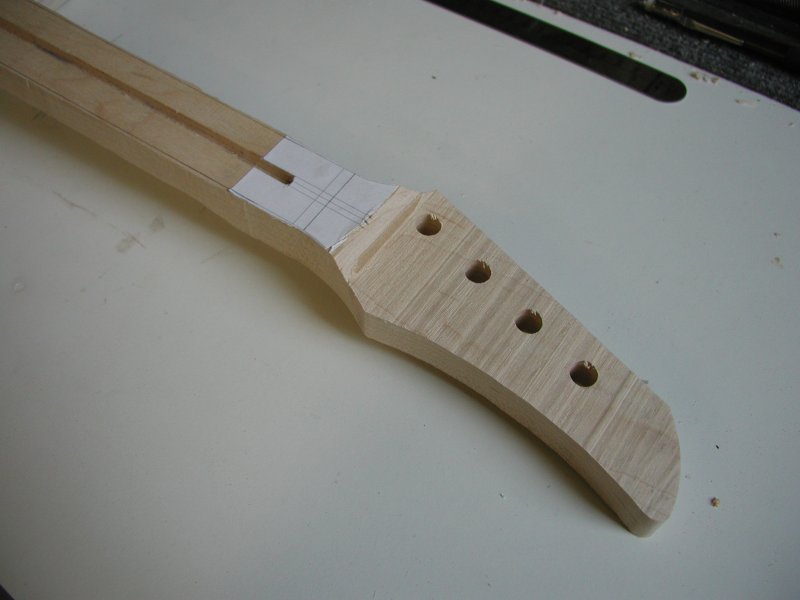 I cut the top section removed from the peghead free with a handsaw. I sanded the top of the peghead using the spindle sander while carefully holding the neck vertically. I had to later sand the top of the peghead with a sanding block to take out the undulations left by the spindle sander. I also used the spindle sander to make the gentle curve from the flat peghead surface to where the nut will go. I was then able to smooth the back of the peghead with the beltsander and bring the peghead down to its final thickness of 9/16ths making sure that the top and back surfaces stayed parallel to the top surface of the neck.

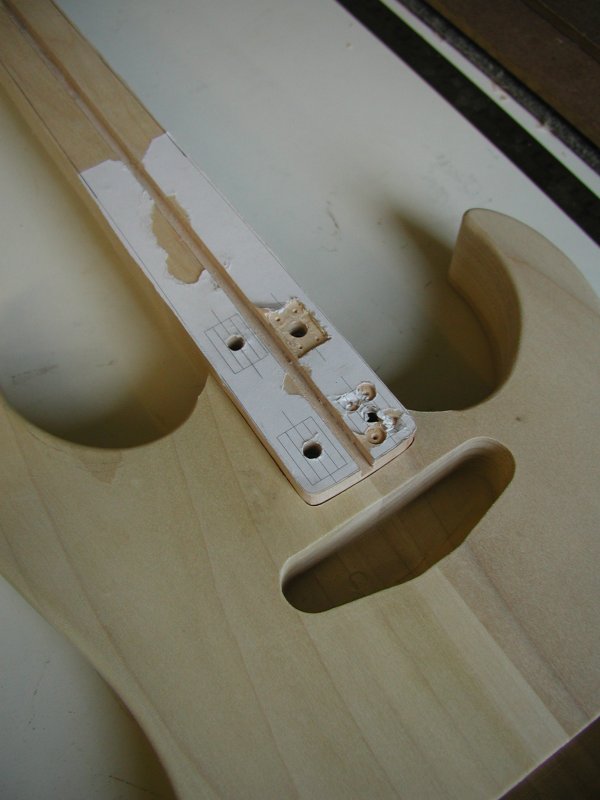
Flange Recess
 I had started to drill out the recesses for the flange part of the nuts before fitting the heel to the neck pocket. When this started tearing up the template I decided to wait until after completely fitting the neck to the neck pocket in the body. I roughed out the recess with four 1/4 inch holes in the corners of the recess drilled to a 1/16th of an inch deep. The rest of the material was carefully chiseled out so the weld nuts flange would fit snuggly between the sides of the recess without turning and so the top of the flange would be well bellow the top of the neck surface so it wouldnt interfere with the fretboard when it was installed.
Gluing in the Truss Rod
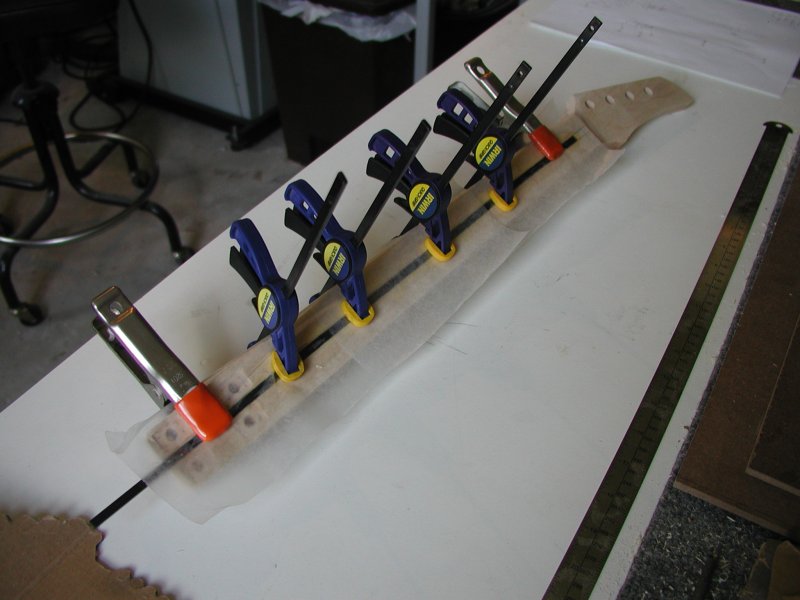 I used epoxy to glue in the carbon fiber truss rod along with a number of clamps and some wax paper so I could take the clamps back off when it was dry. Once the epoxy had cured, I cut off and sanded the tail end of the truss rod smooth with the rest of the neck. Due to a miscalculation while routing the channel, it wasnt deep enough for the entire truss rod to fit flush with the top of the neck. Since the fence slipped to a different position, I didnt have a good way to make the slot deeper without possibly making it too wide or crooked. Instead I cut down the top of the truss rod primarily using a sanding block and plane. Luckily the carbon fiber cuts easily. Another alternative I was tossing around at the time was to cut a channel in the fretboard so the protruding truss rod would still allow the fretboard to join flush with the neck. In retrospect, this may have been the better option since you wouldnt have to risk sanding the top of the neck out of flat which could result in a visible gap and a poorer joint between the fingerboard and neck. Of course, the best option is to rout the truss rod channel correctly in the first place...
Together at Last
 I drilled the holes matching those in the neck in the body using the neck as a guide. I held the neck in position in the neck pocket and drilled through the neck and the heel of the body ensuring a perfect fit. I didn't check the alignment of the neck while installing it. It came out close to in line with the center line of the body since the neck pocket was lined up well, but making sure the neck was in the correct place with some measuring would have helped to make the alignment that much more accurate.
Carving the Heel of the Body
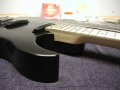
 I roughly laid out the heel area and then did the carving mostly by eye and feel. I started by establishing the thickness at the end nearer the neck, then blending that shape back into the body. I used a microplane rasp, spokeshave and wood rasp to carve the heel area. I then reradiused the edge by hand to match the 1/8th inch radius of the rest of the body. I countersunk the holes for the flat head screws so the top of the screw would be recessed about an 1/8th inch. There isnt much room on the two recesses closer to the neck, so they are shallower and blend into the radiused edge.